

How to Make your own Wildmore Hand Marbled Paper Garlands
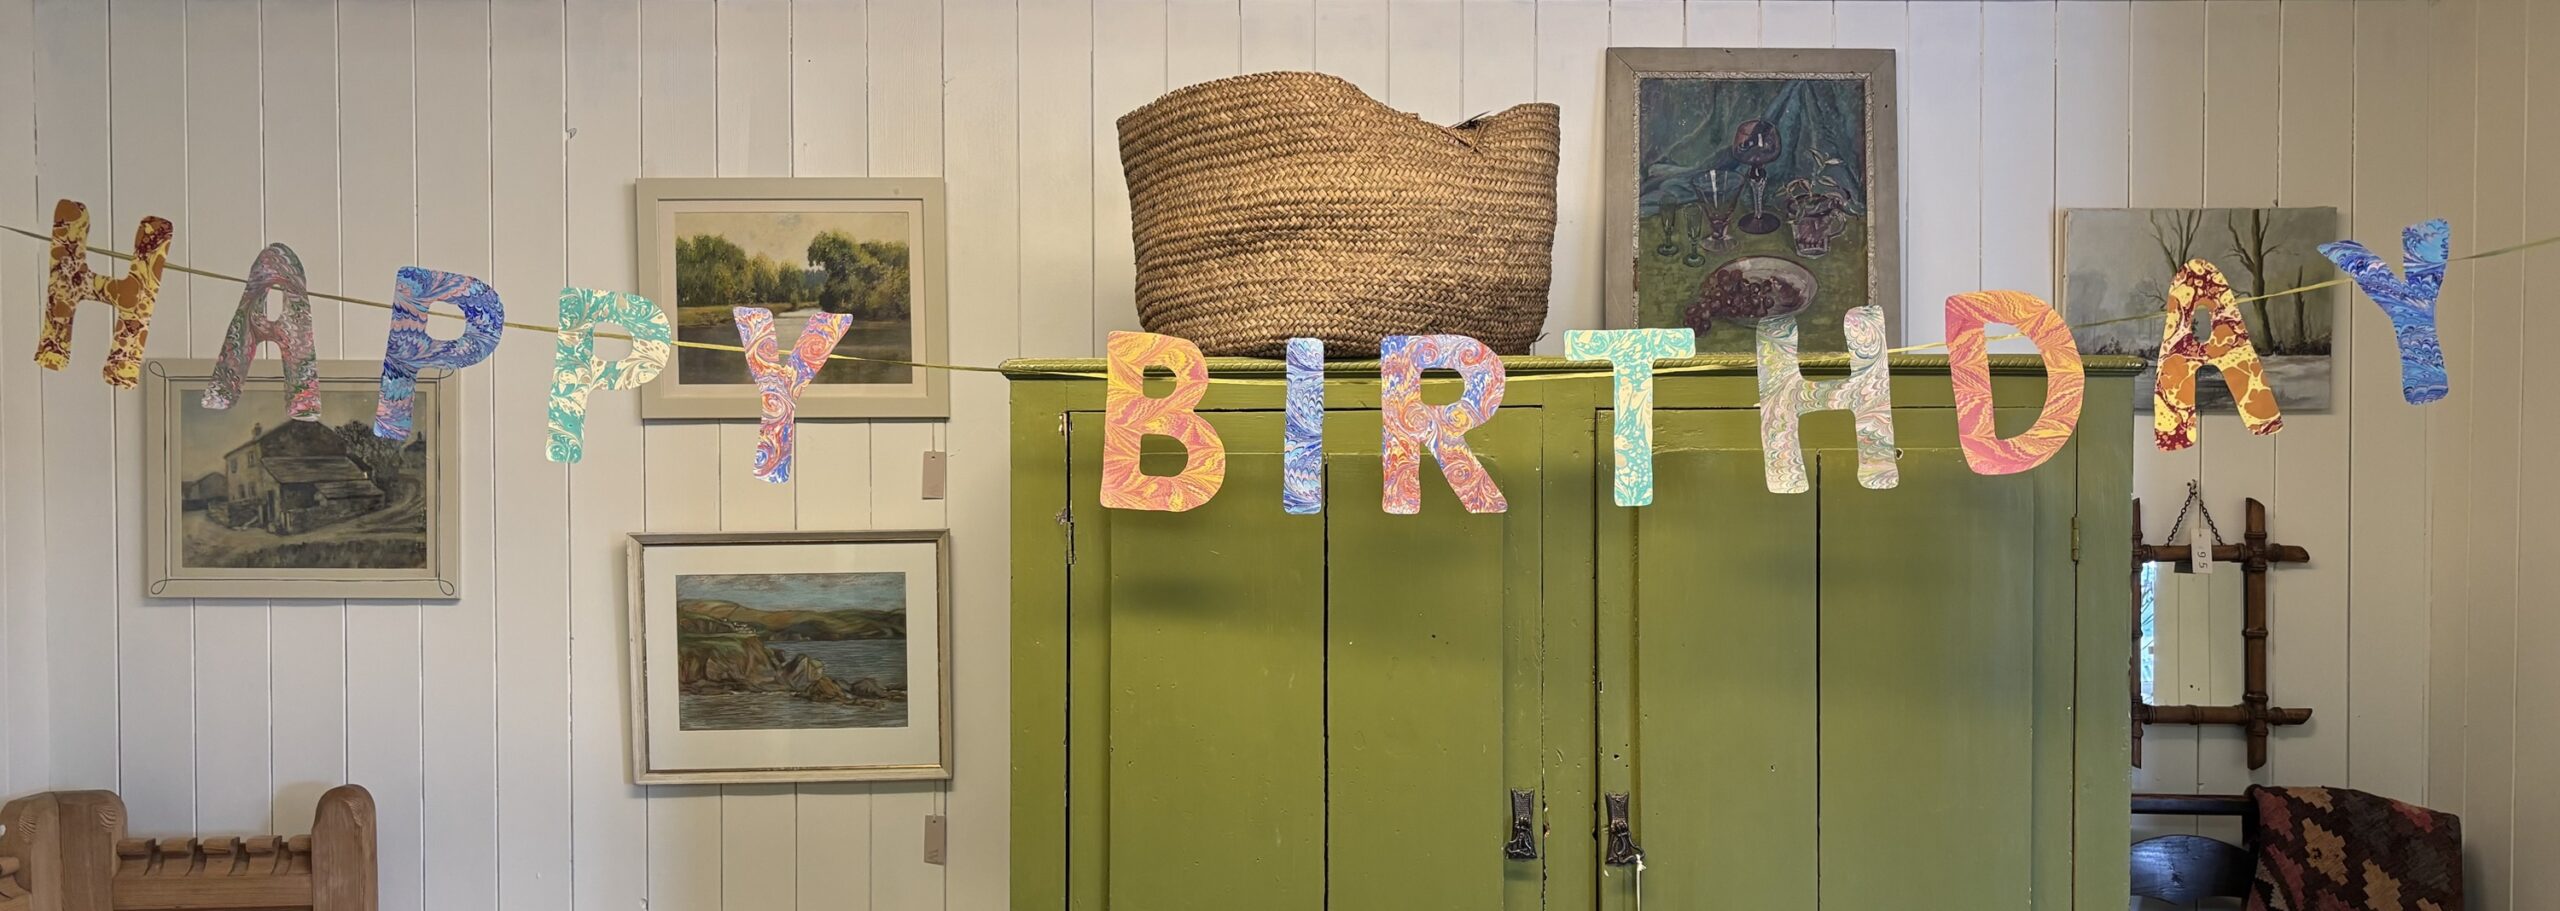
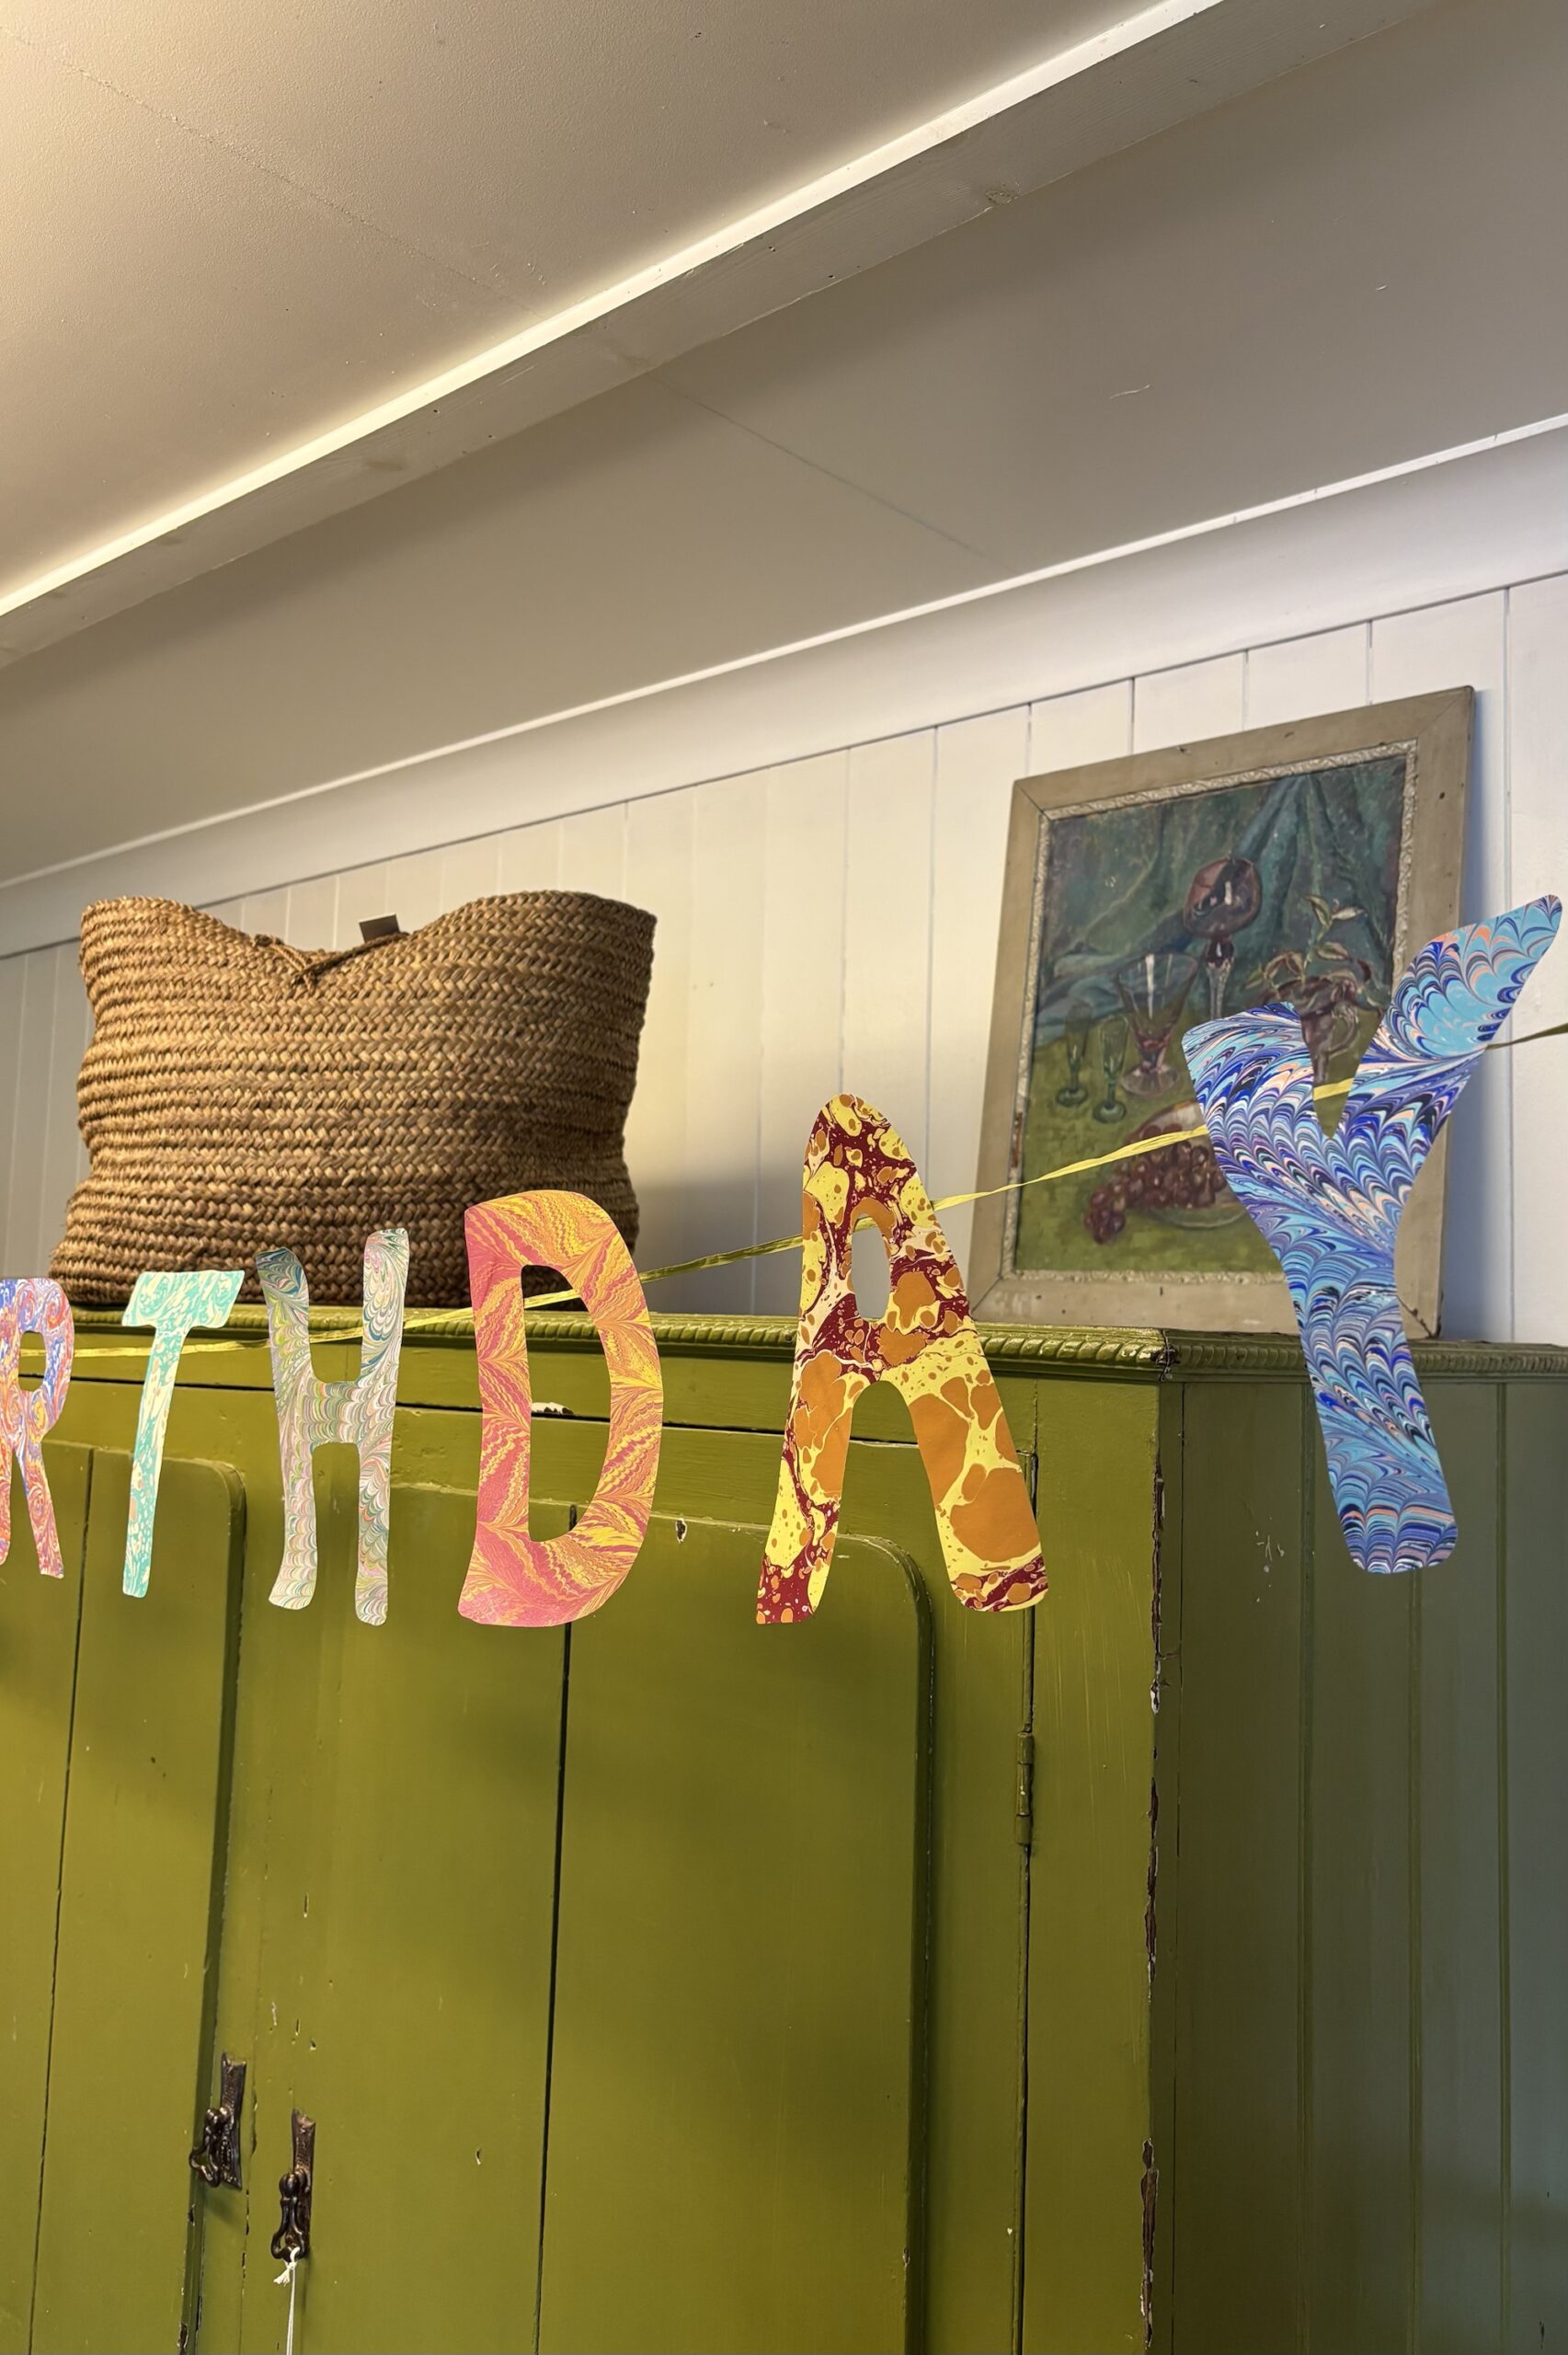
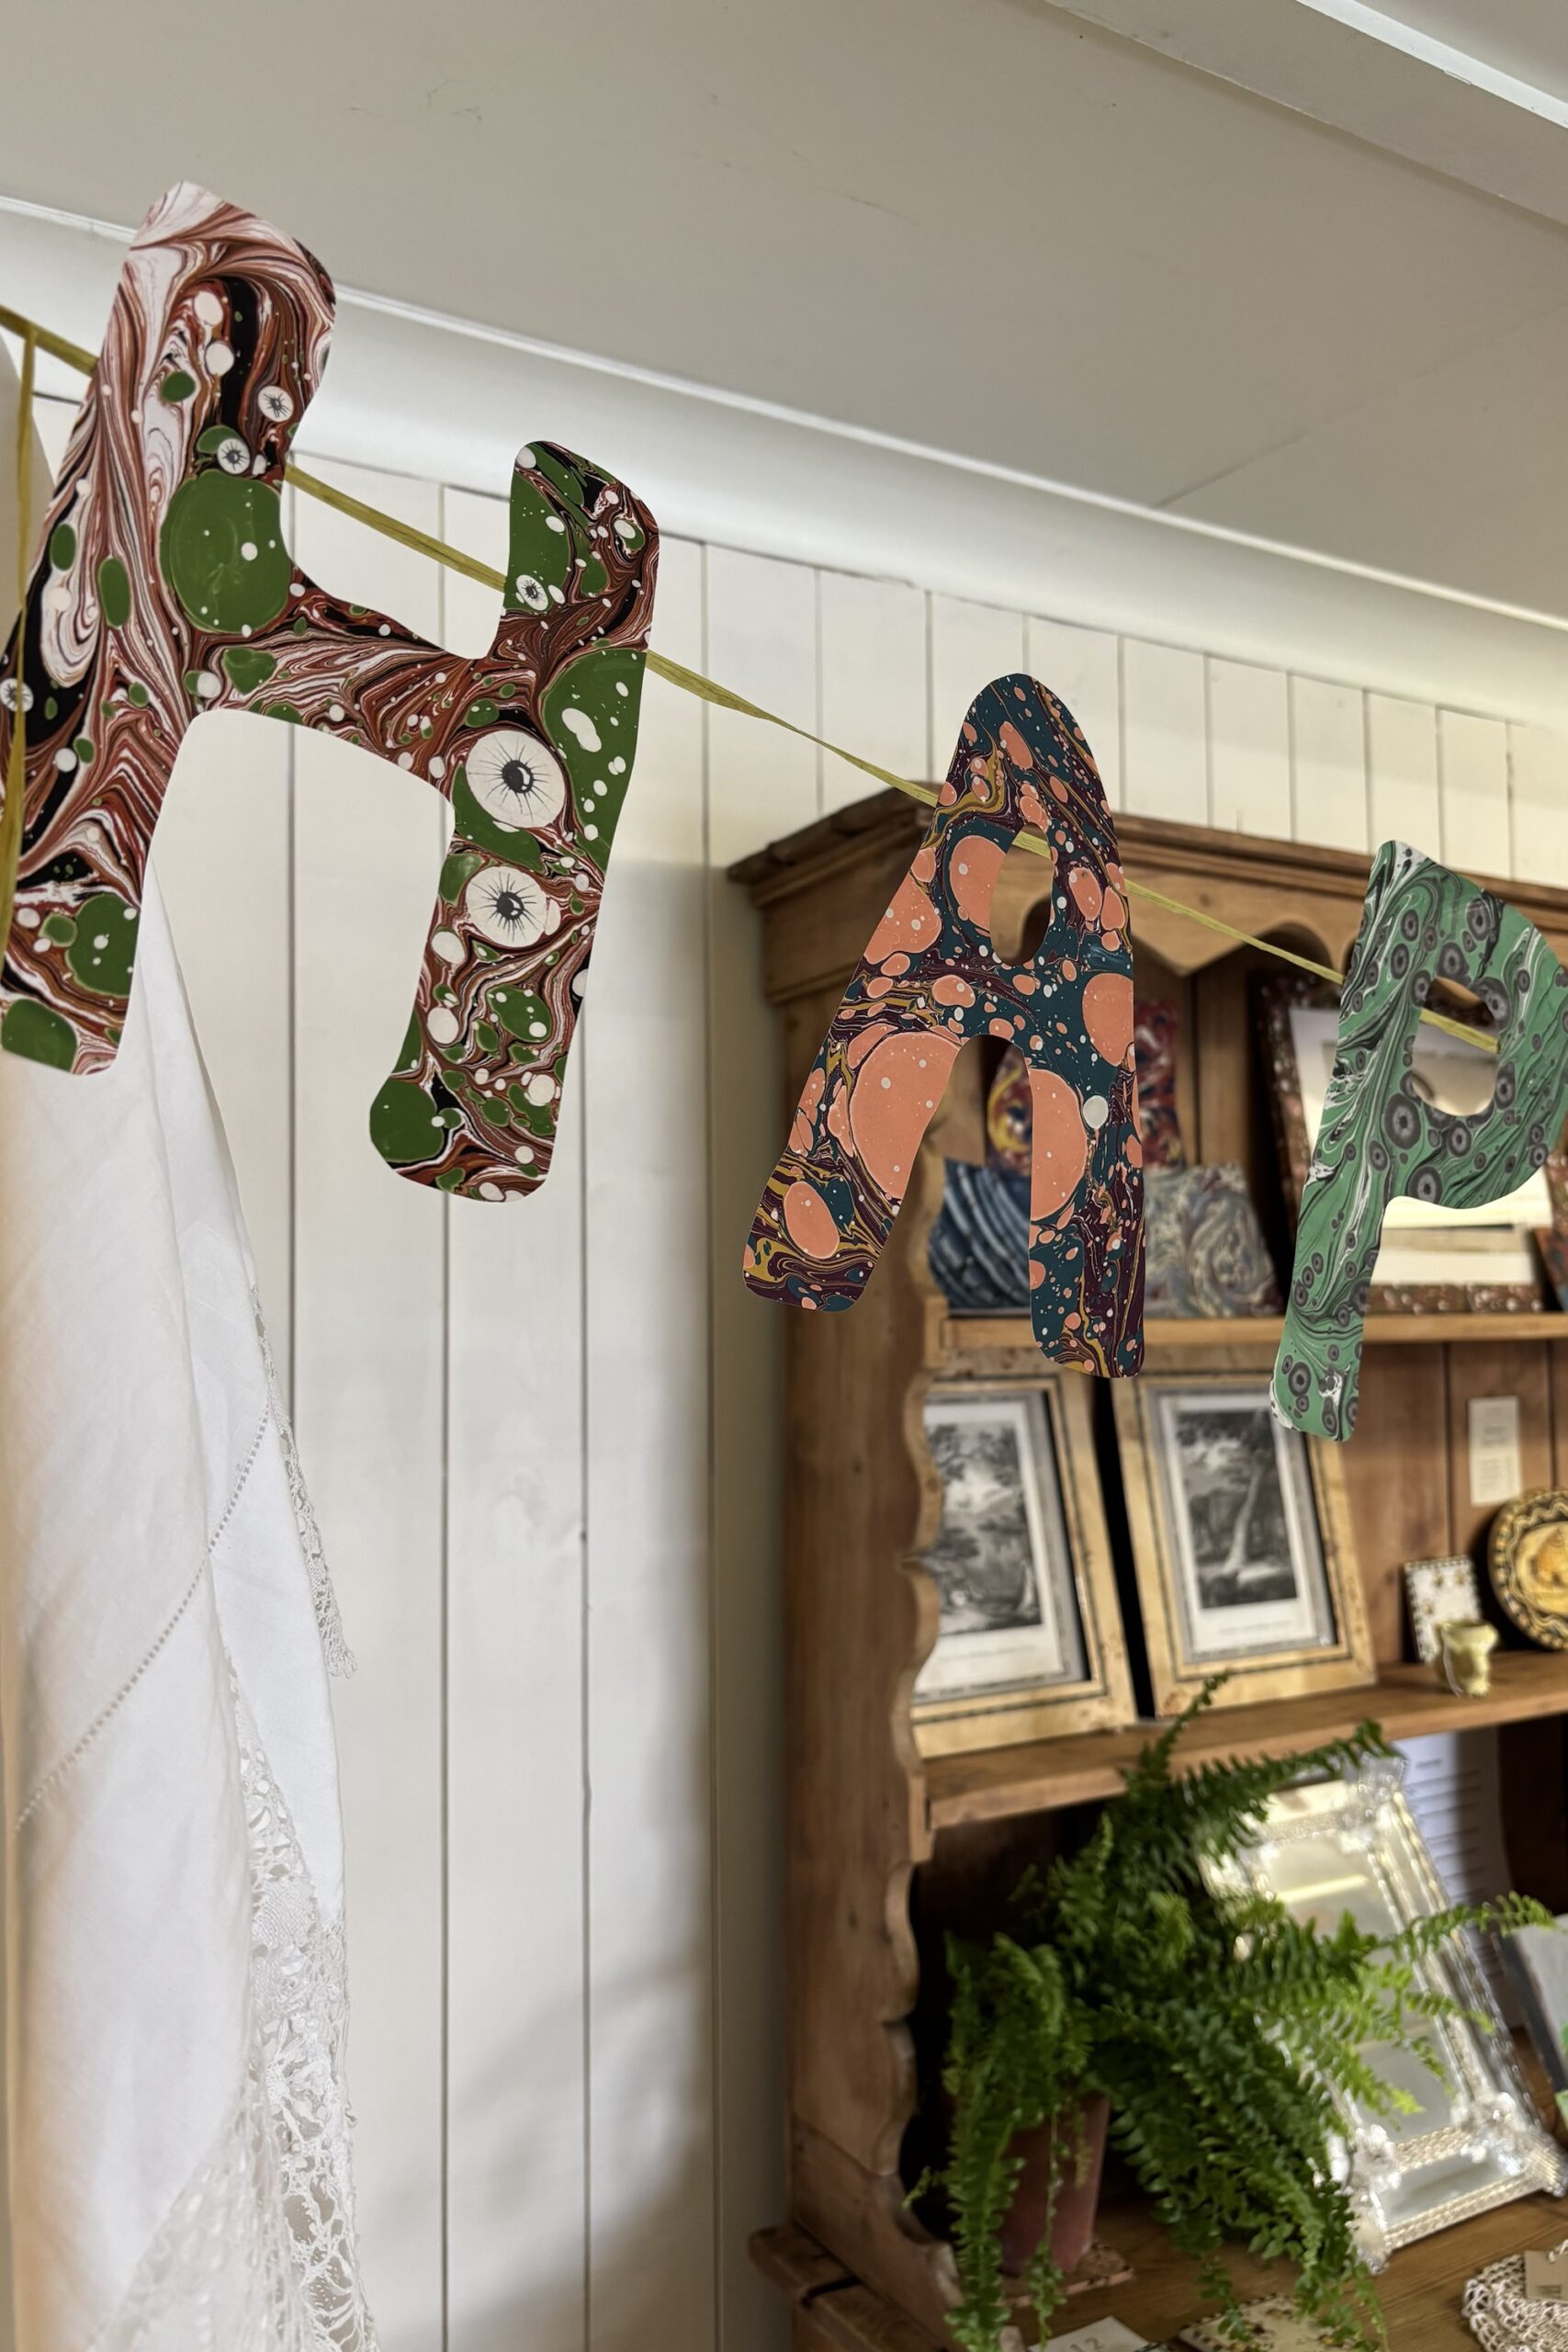
How to make a Hand Marbled Paper Garland
If you are looking for unique party decor then this is the place. We have put together some inspiration and a how to guide on making your own hand marbled paper banner or garland.
Our Hand Marbled Paper Garland Packs of 15 A5 sheets will set you up for making the perfect garland. With 15 sheets you can write Happy Birthday, Merry Christmas, Happy Halloween, Congratulations and many more of your own unique phrases. You can also cut out shapes like Easter eggs, fruits and vegetables, animals, handprints and stars. Your imagination can run wild.
What You Will Need
Pencil, scissors, tape, ruler.
How To
1.
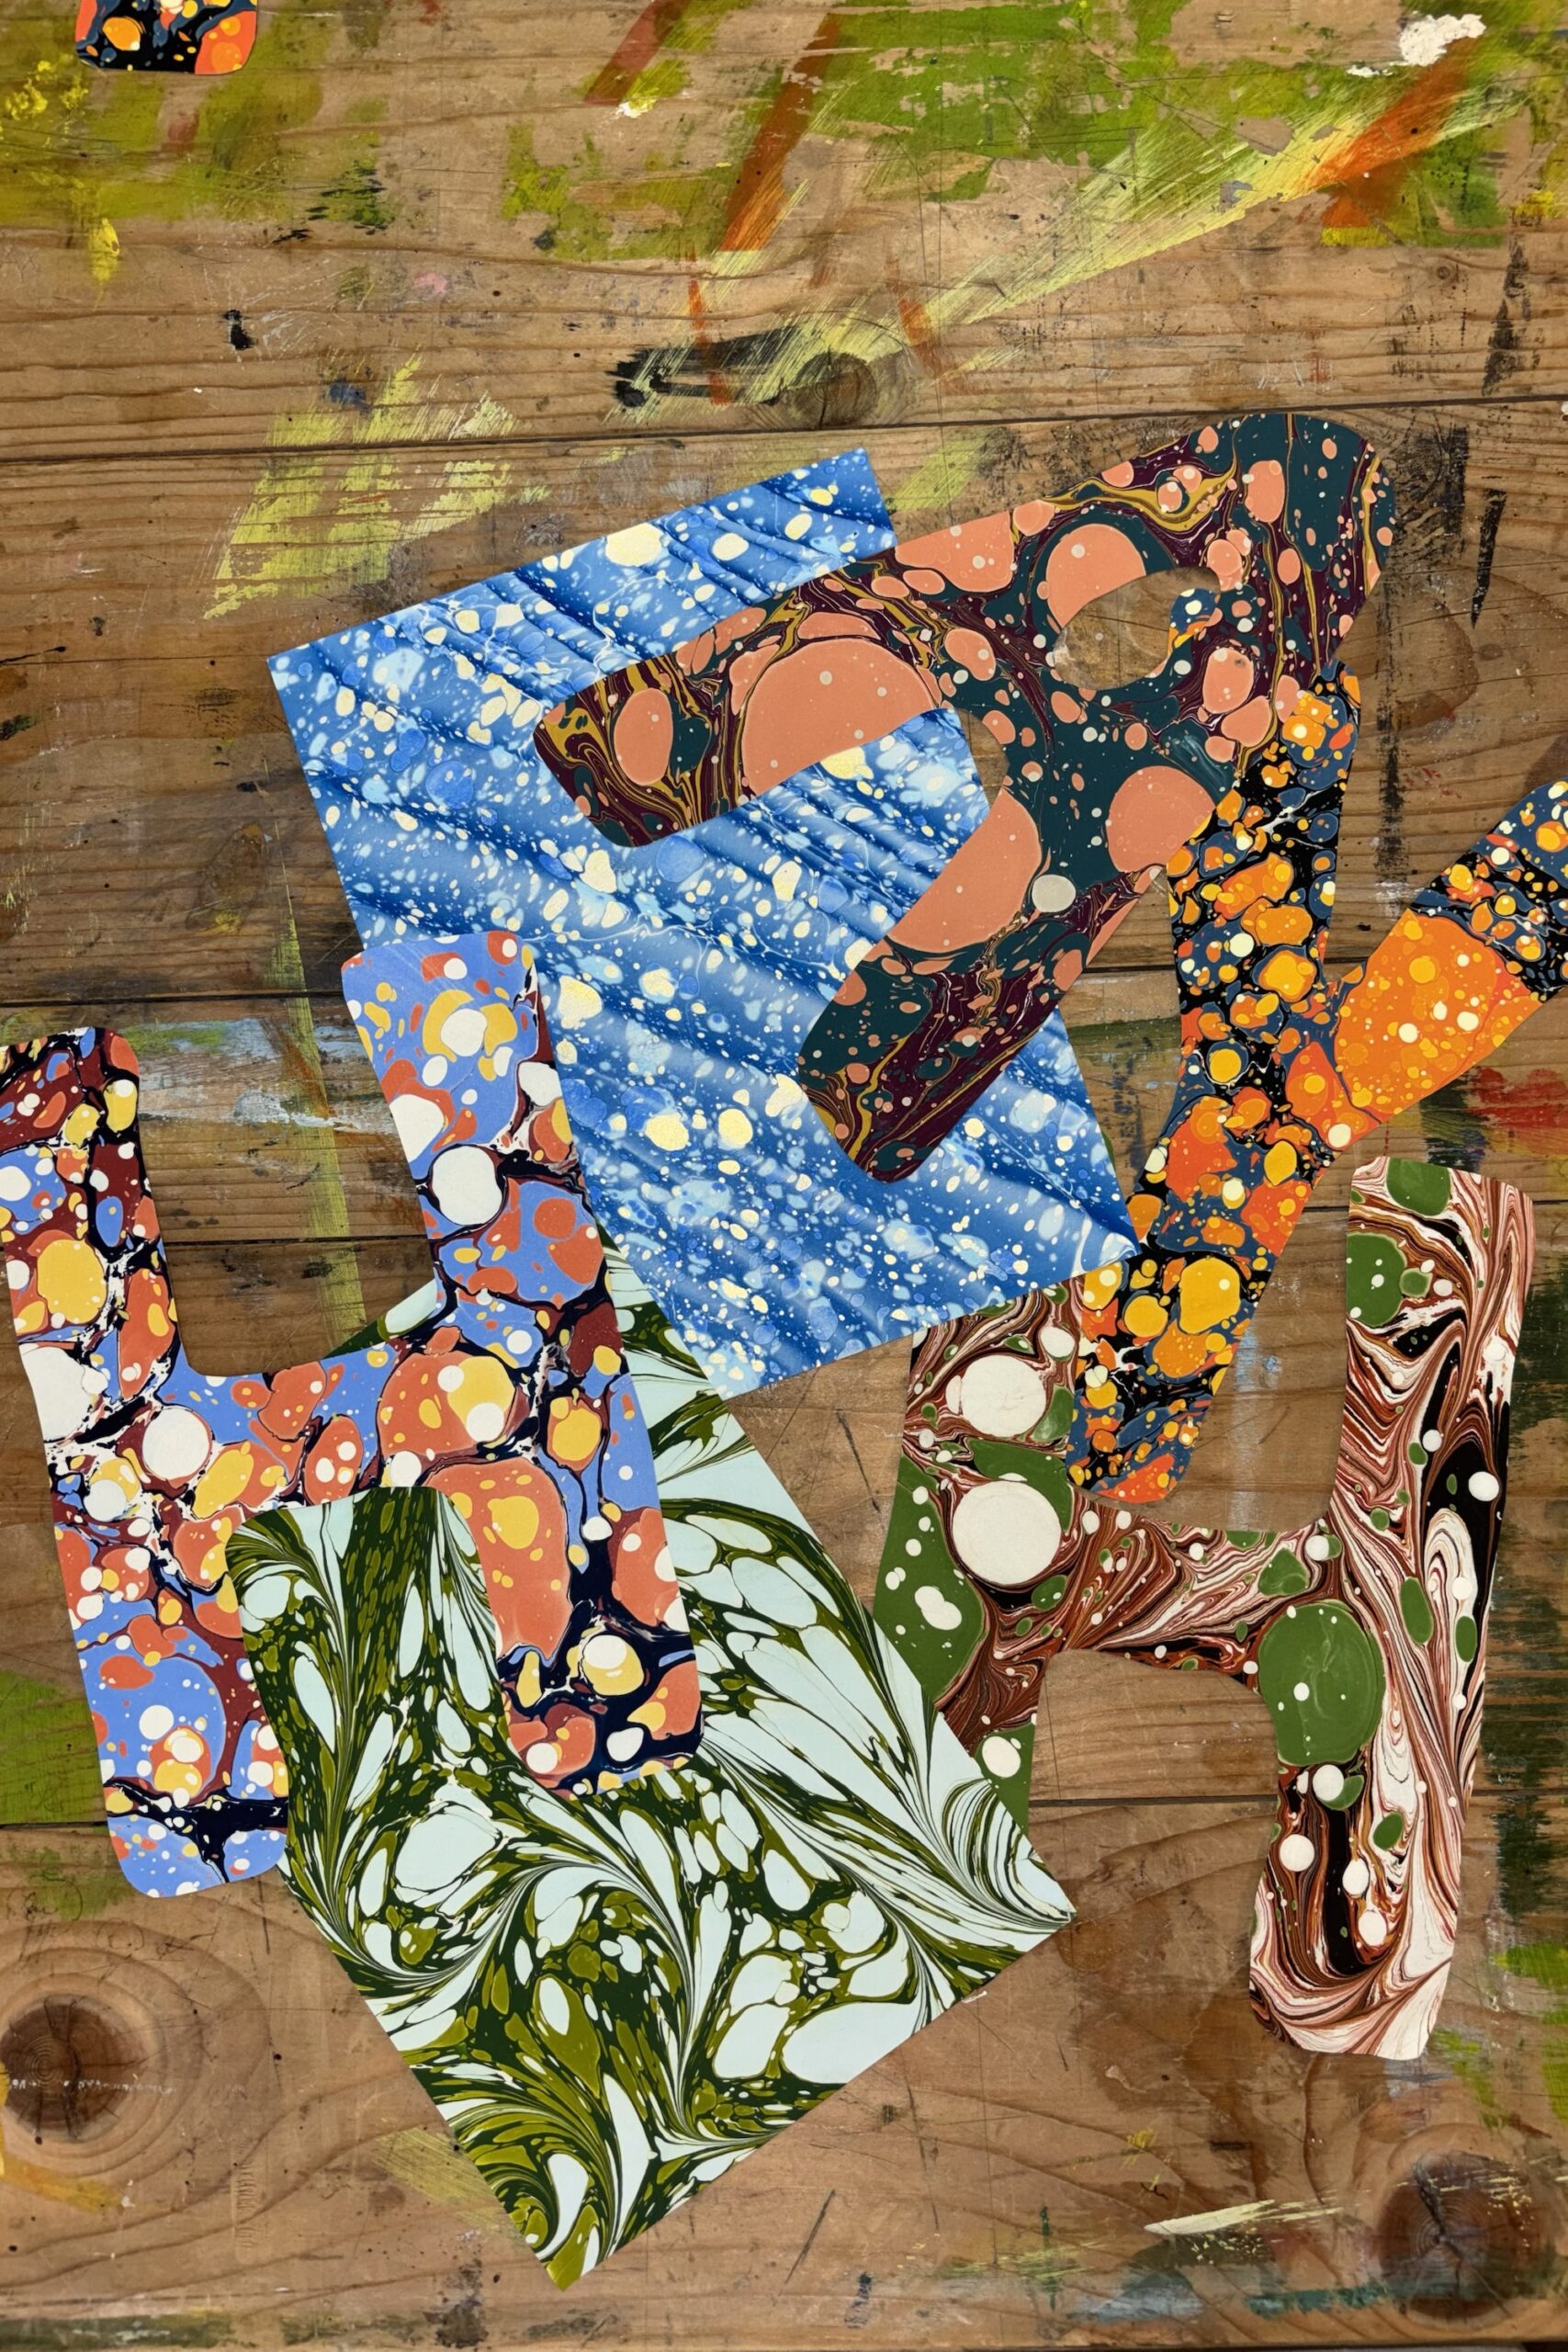
Lay out your sheets of paper in the order you would like them to hang in.
5.
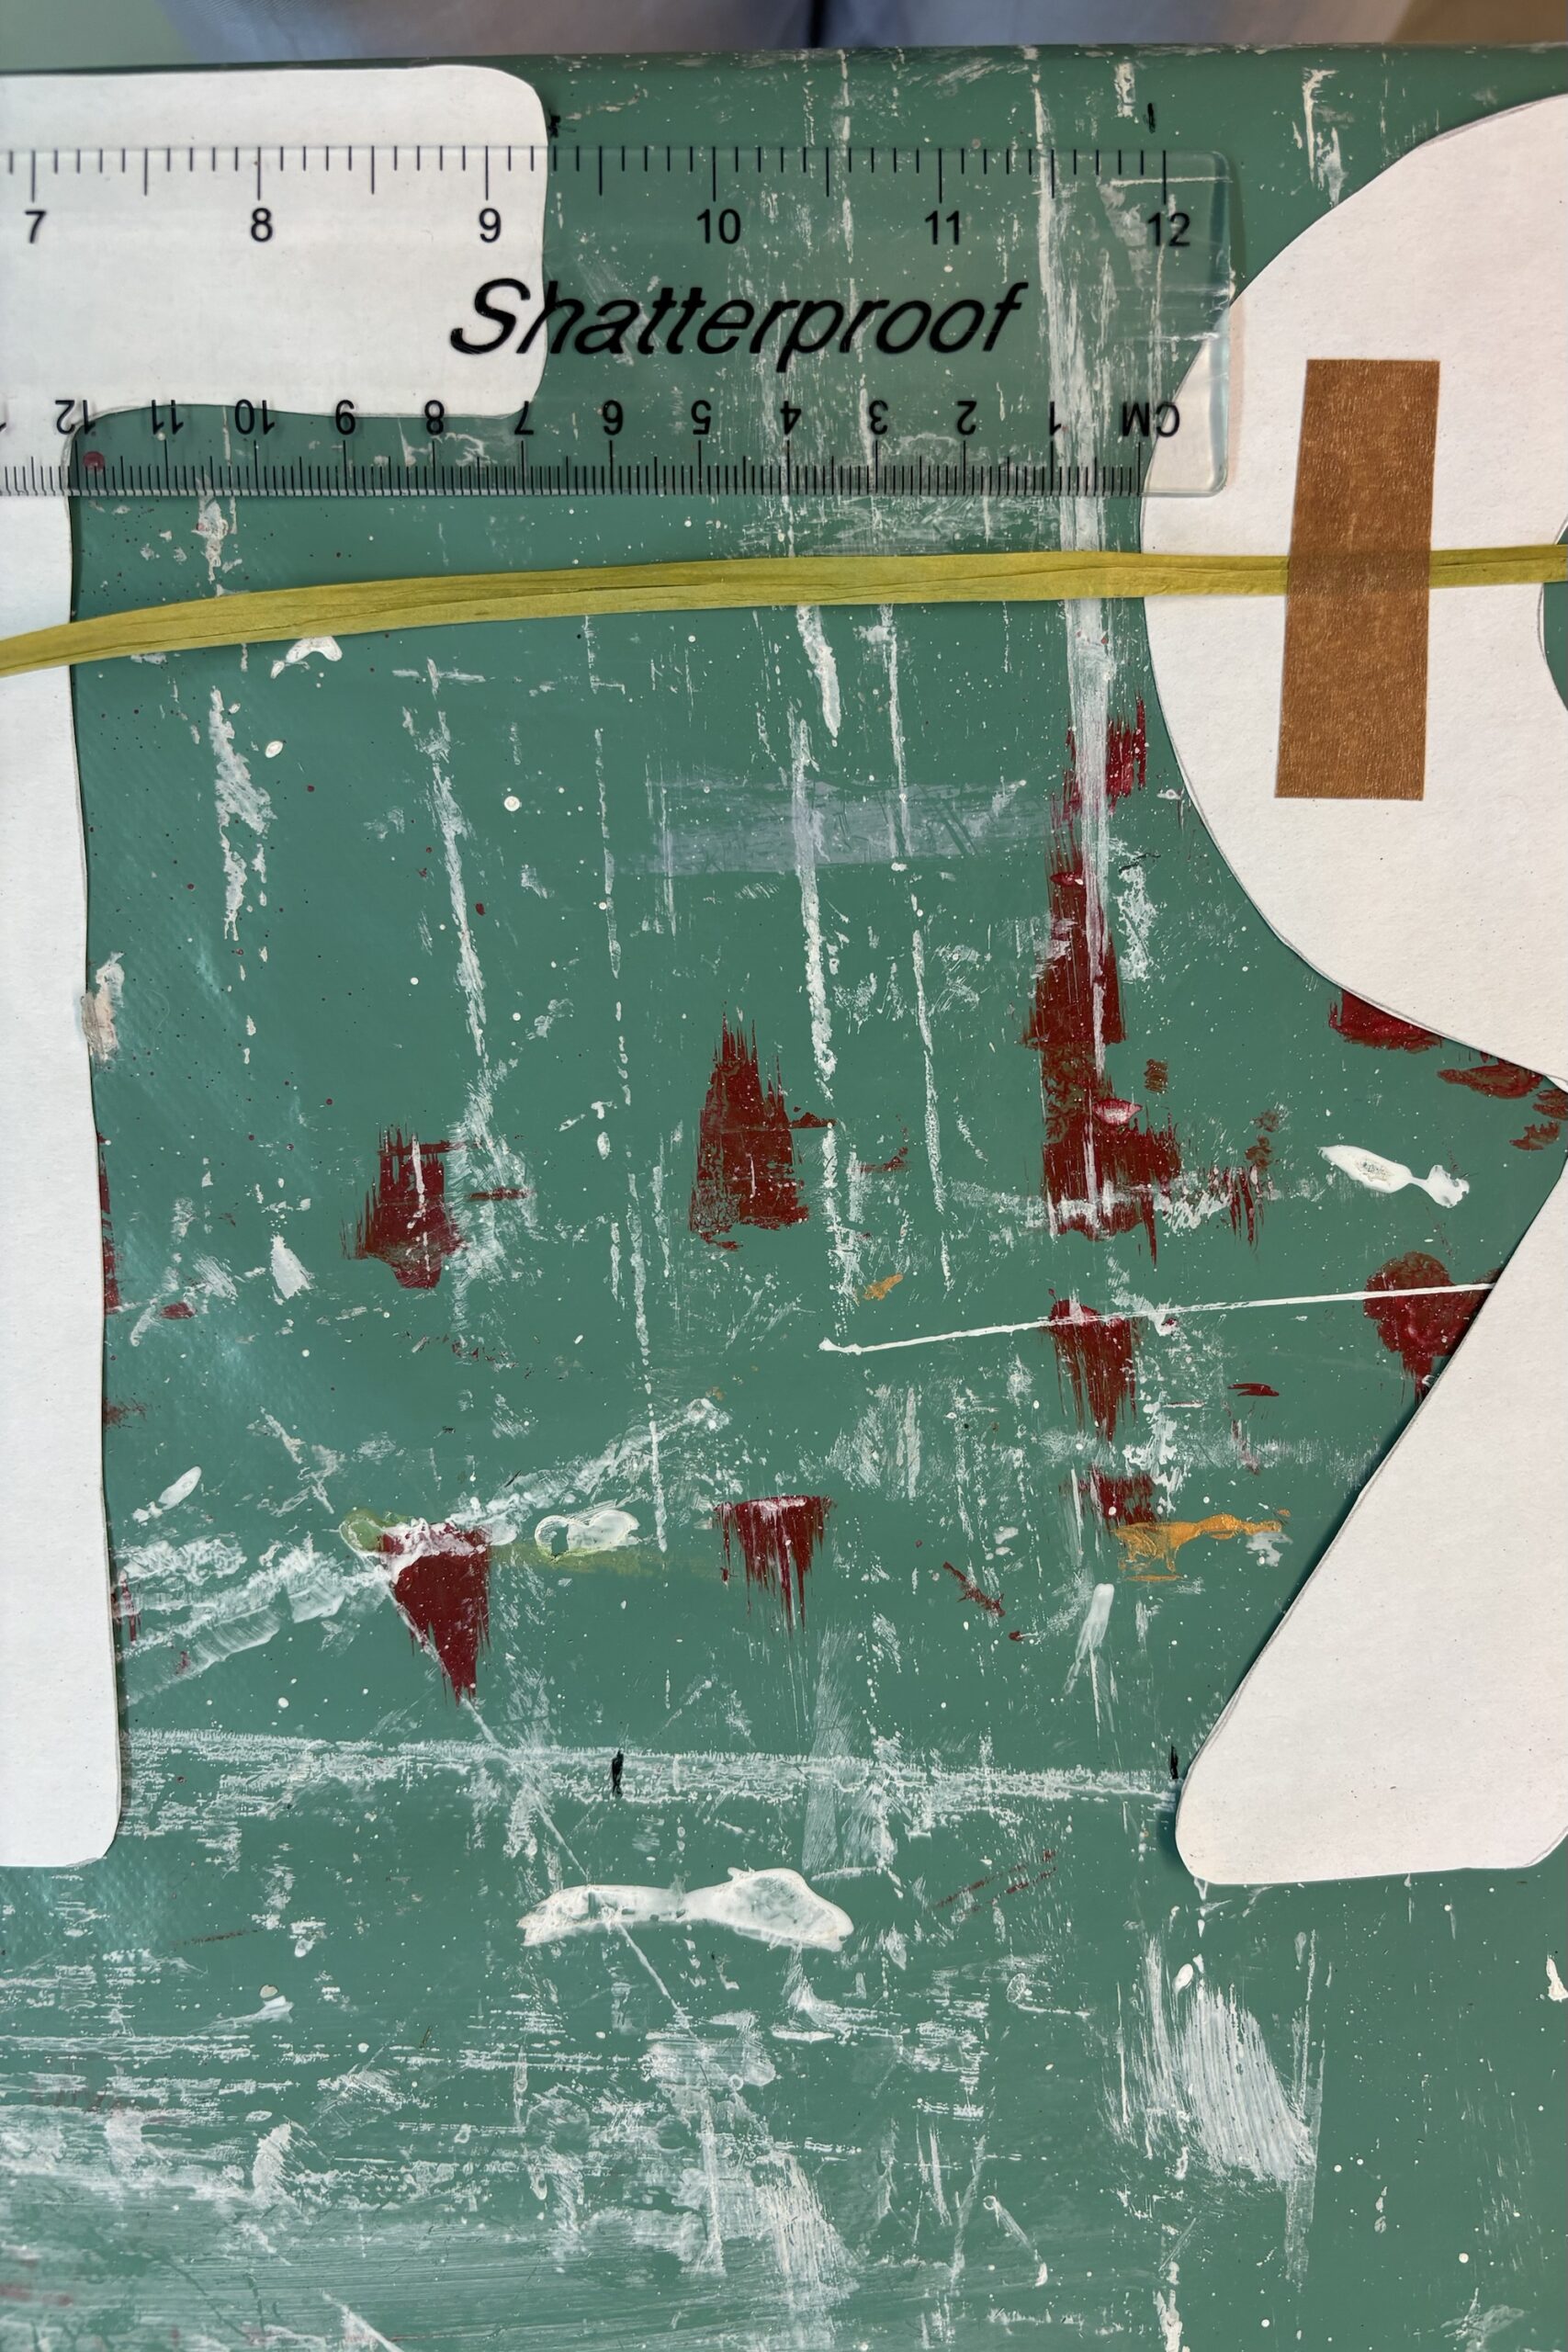
Space out your letters, numbers or shapes on the ribbon, measuring the gaps to ensure consistency.
2.
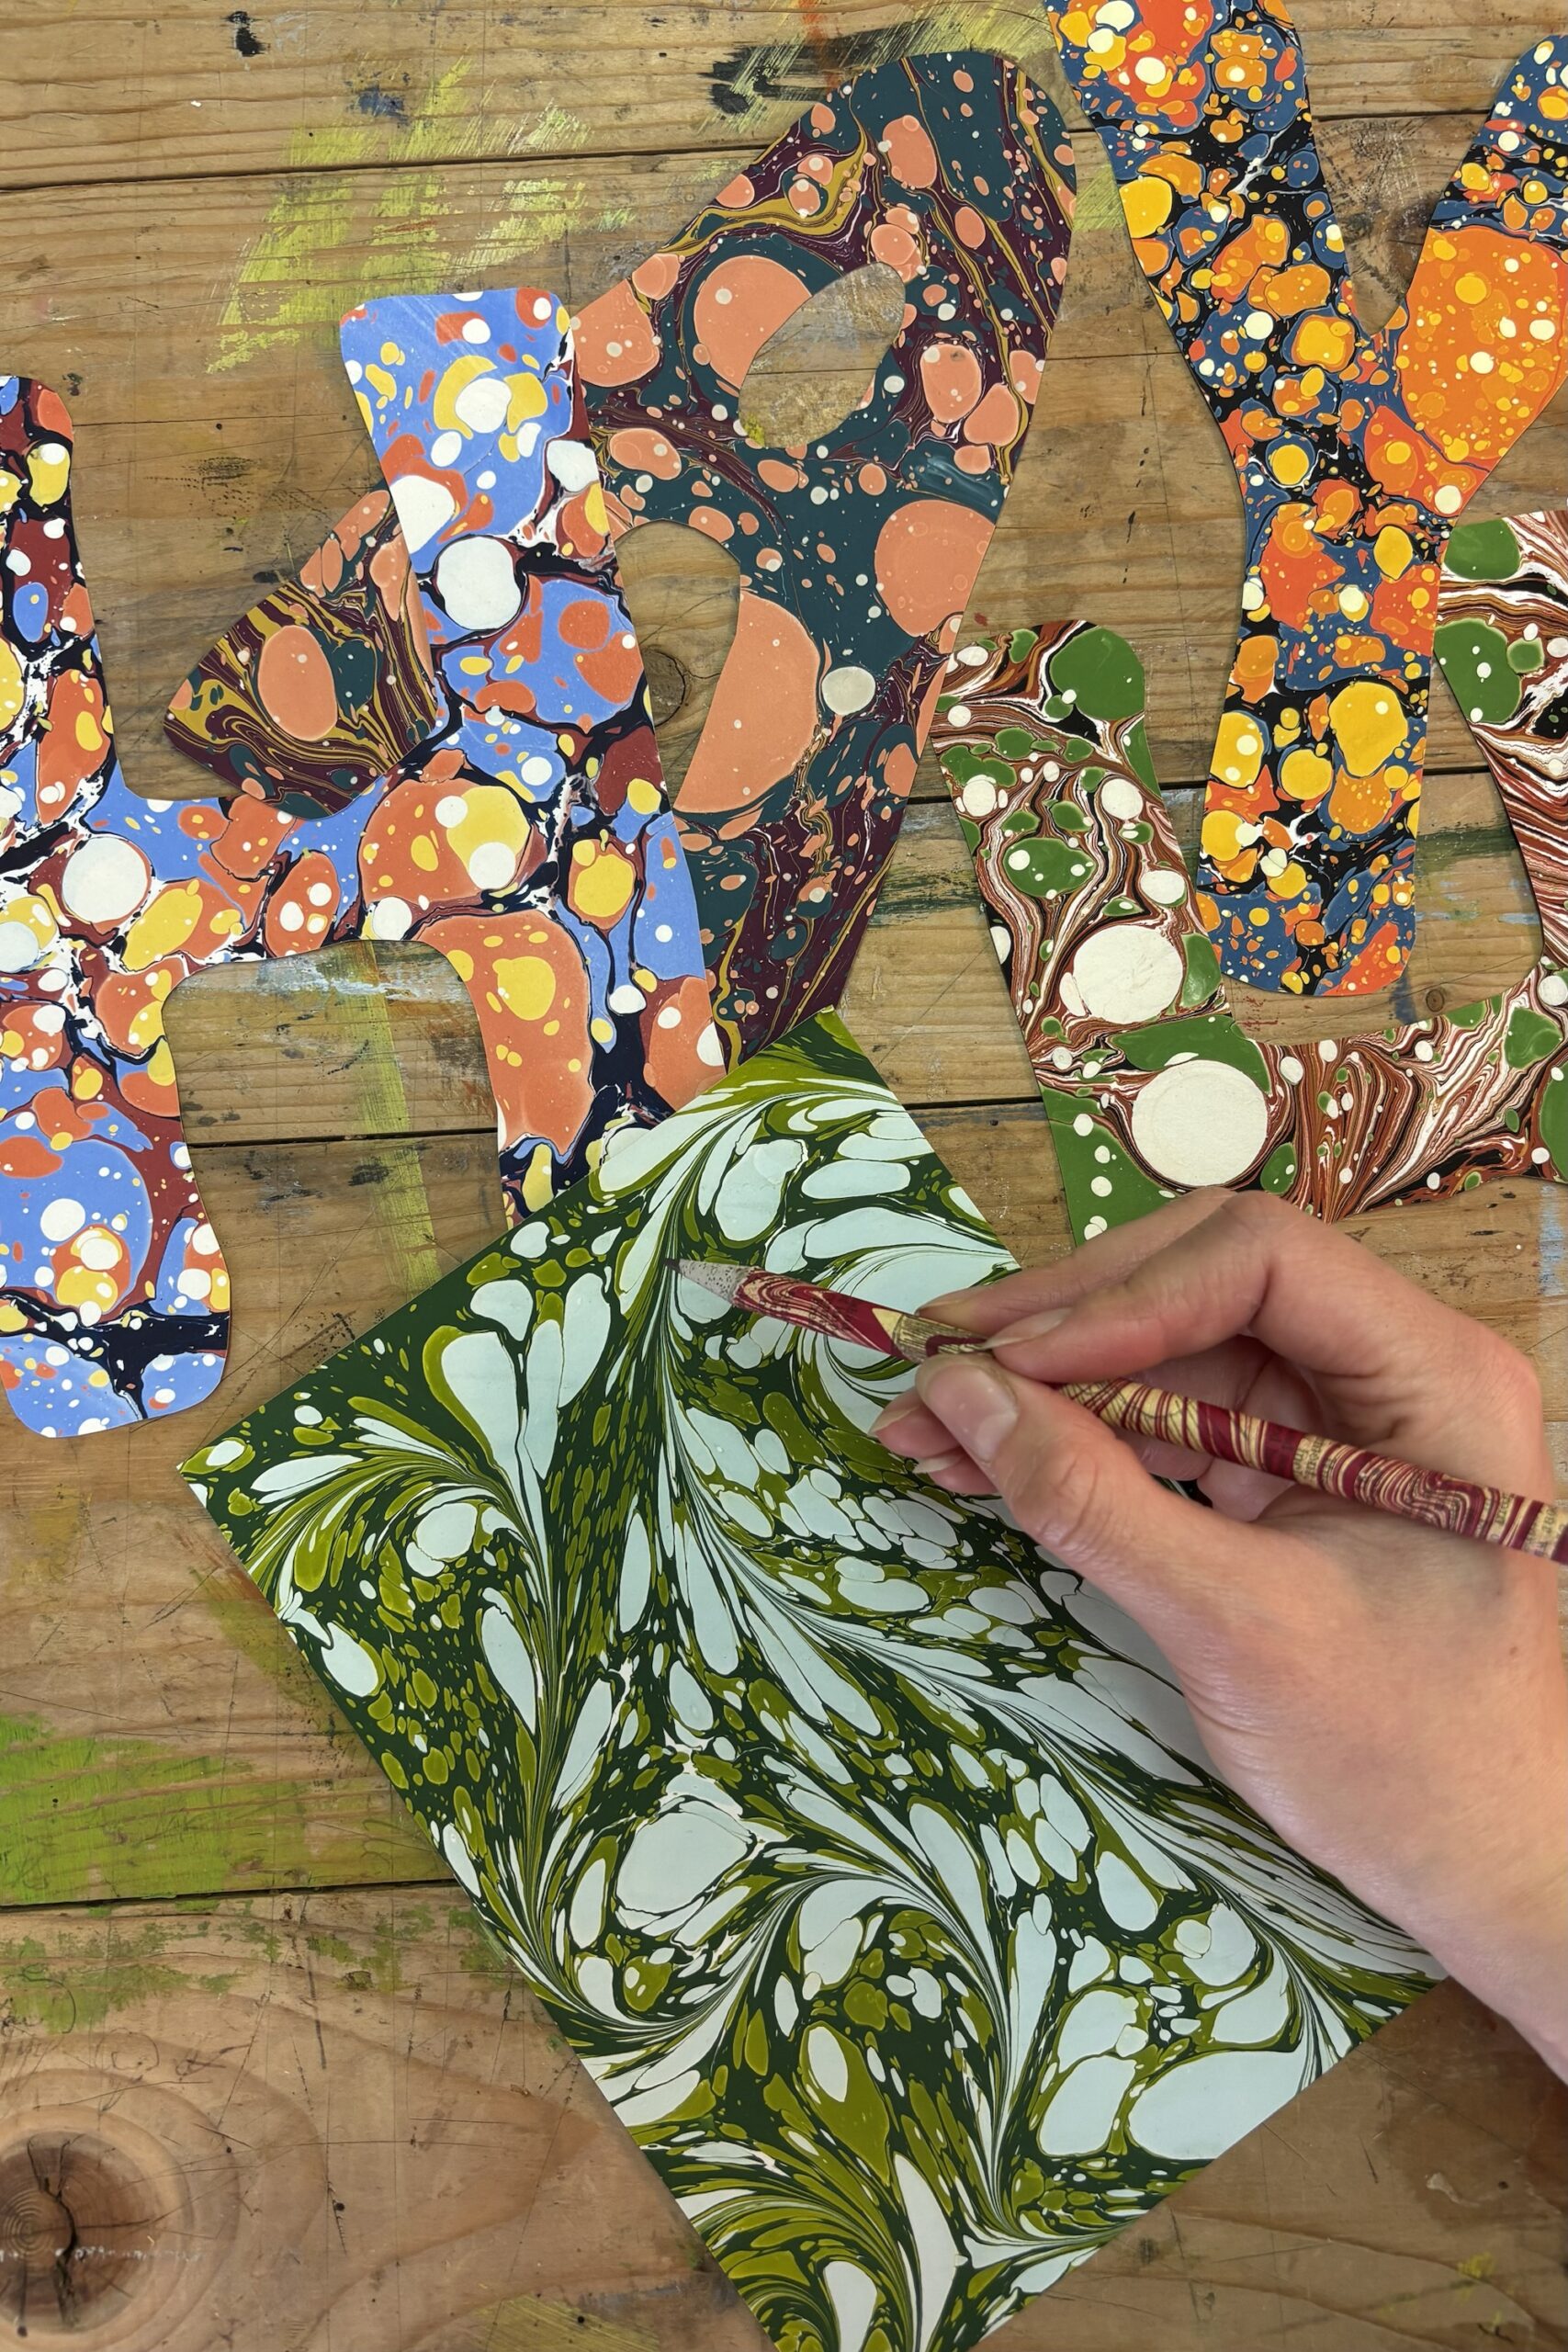
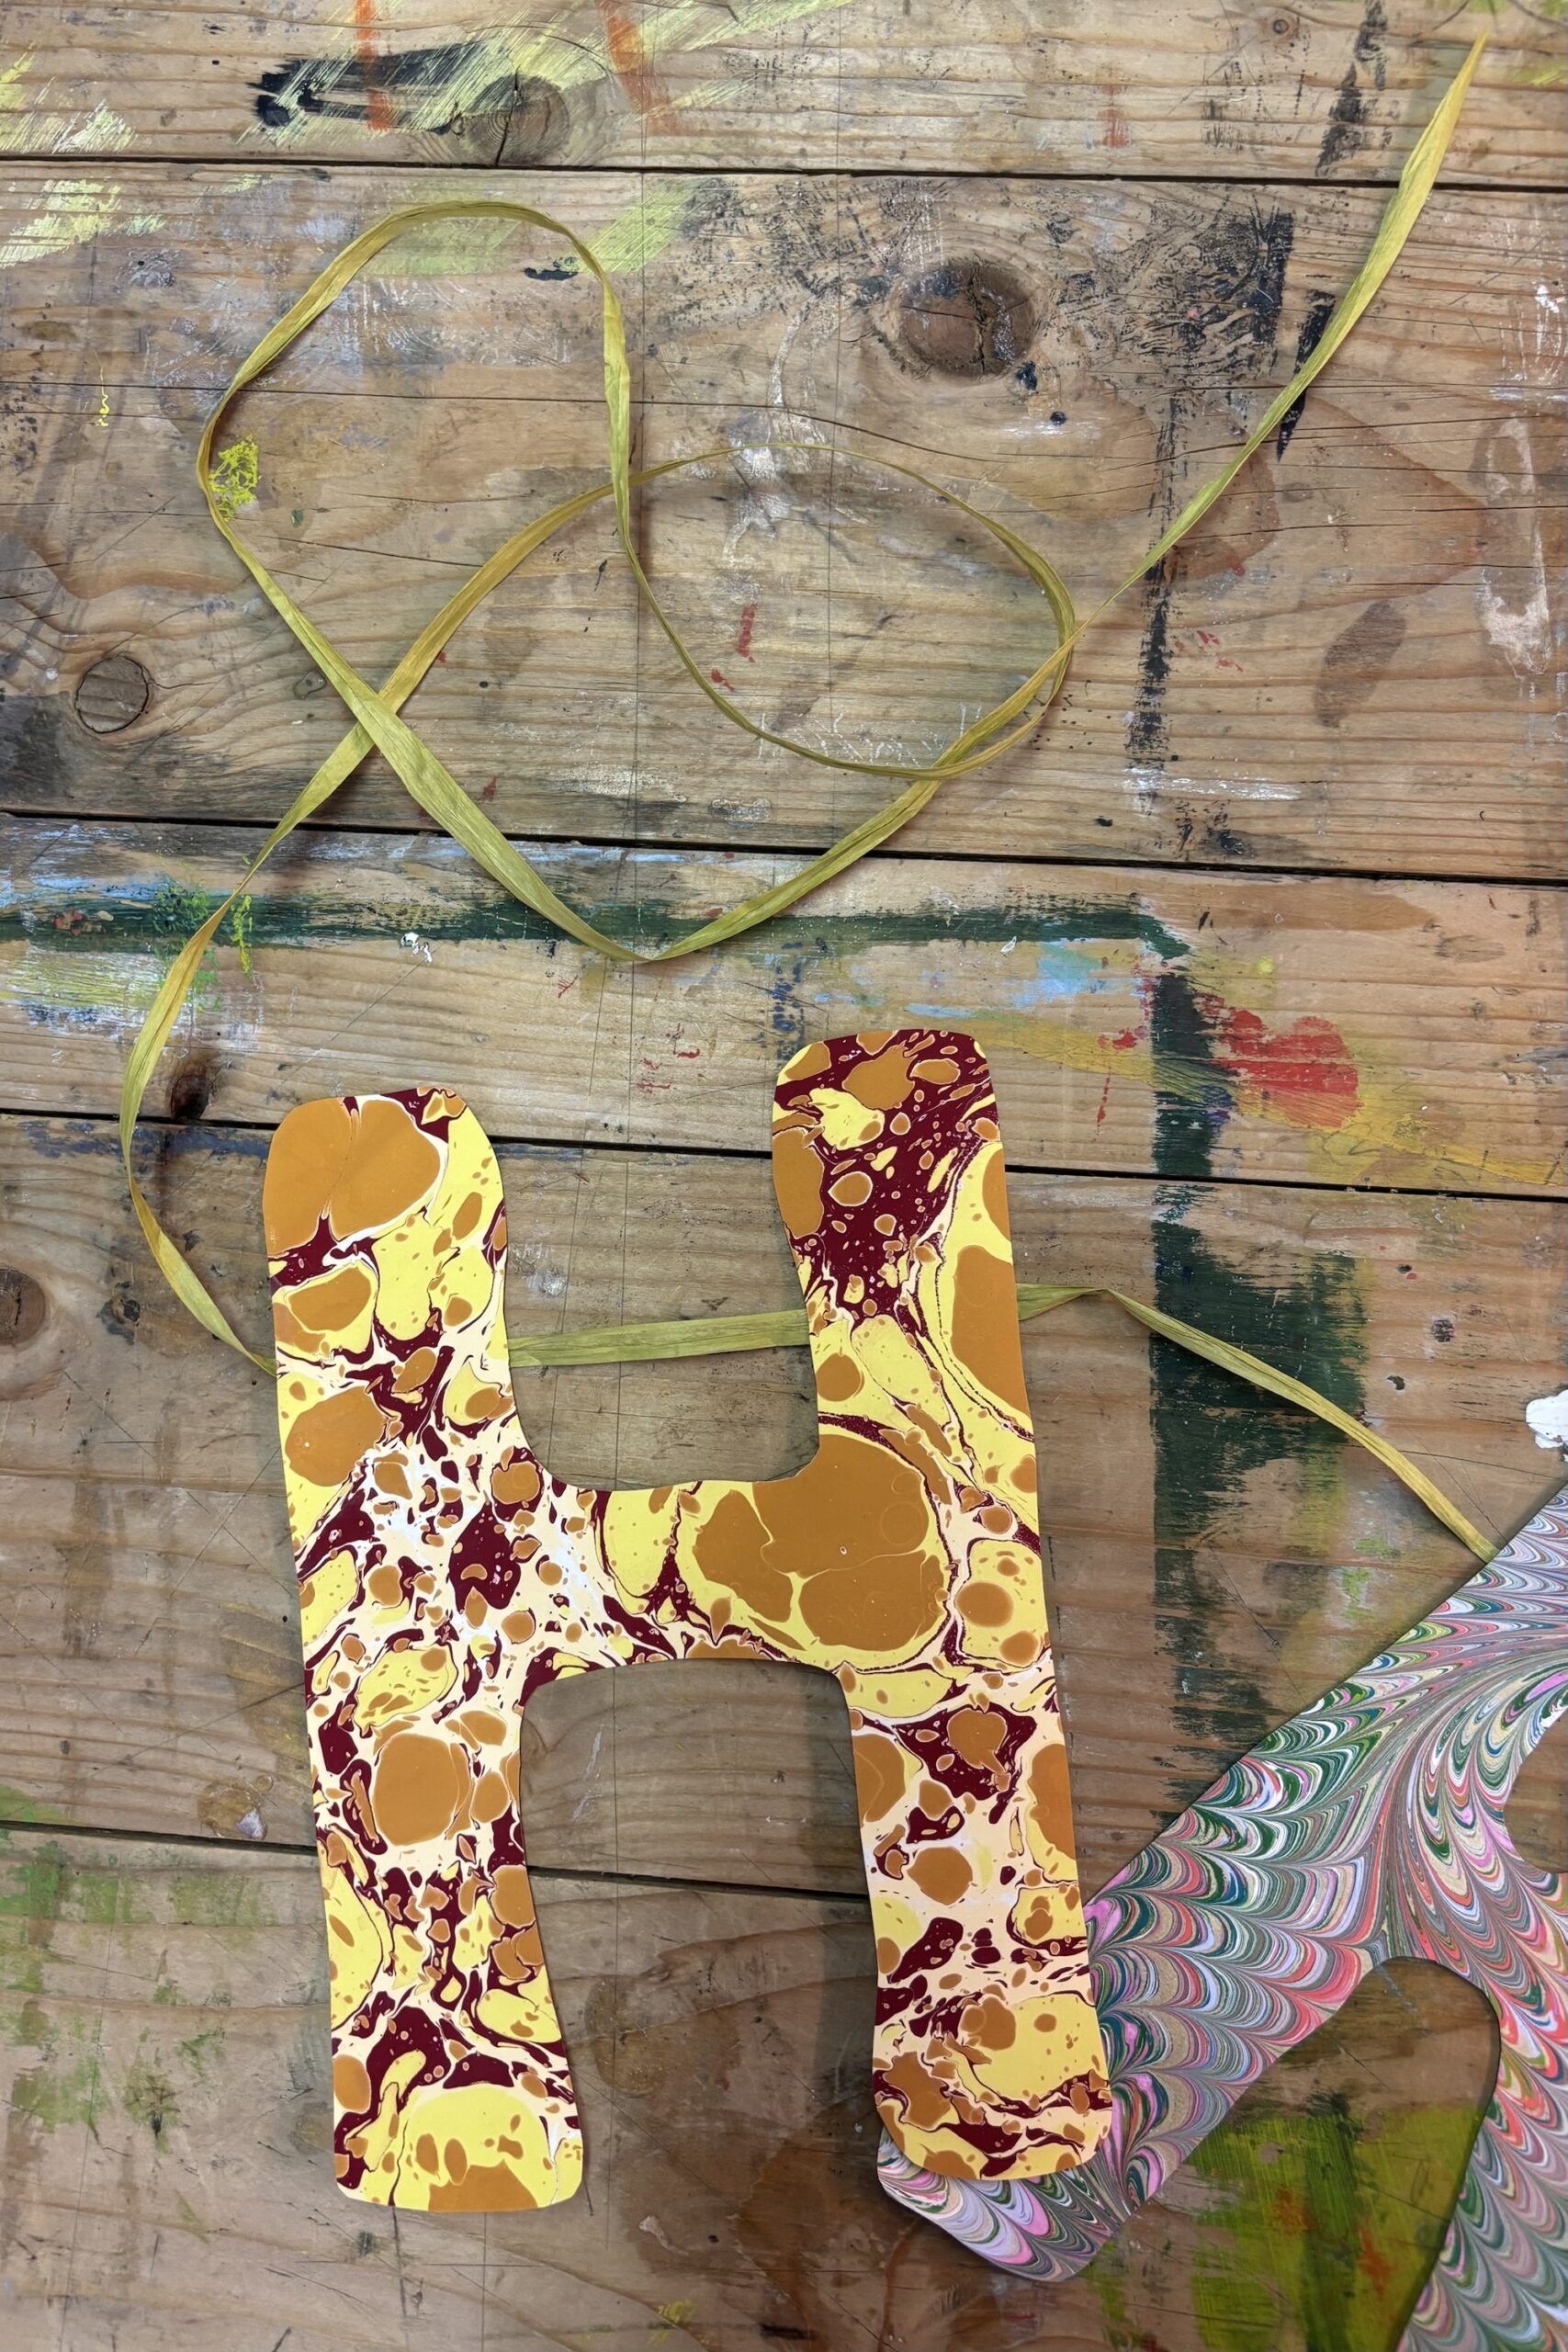
Use a pencil to draw the letters, shapes or numbers onto your marbled paper. *
6.
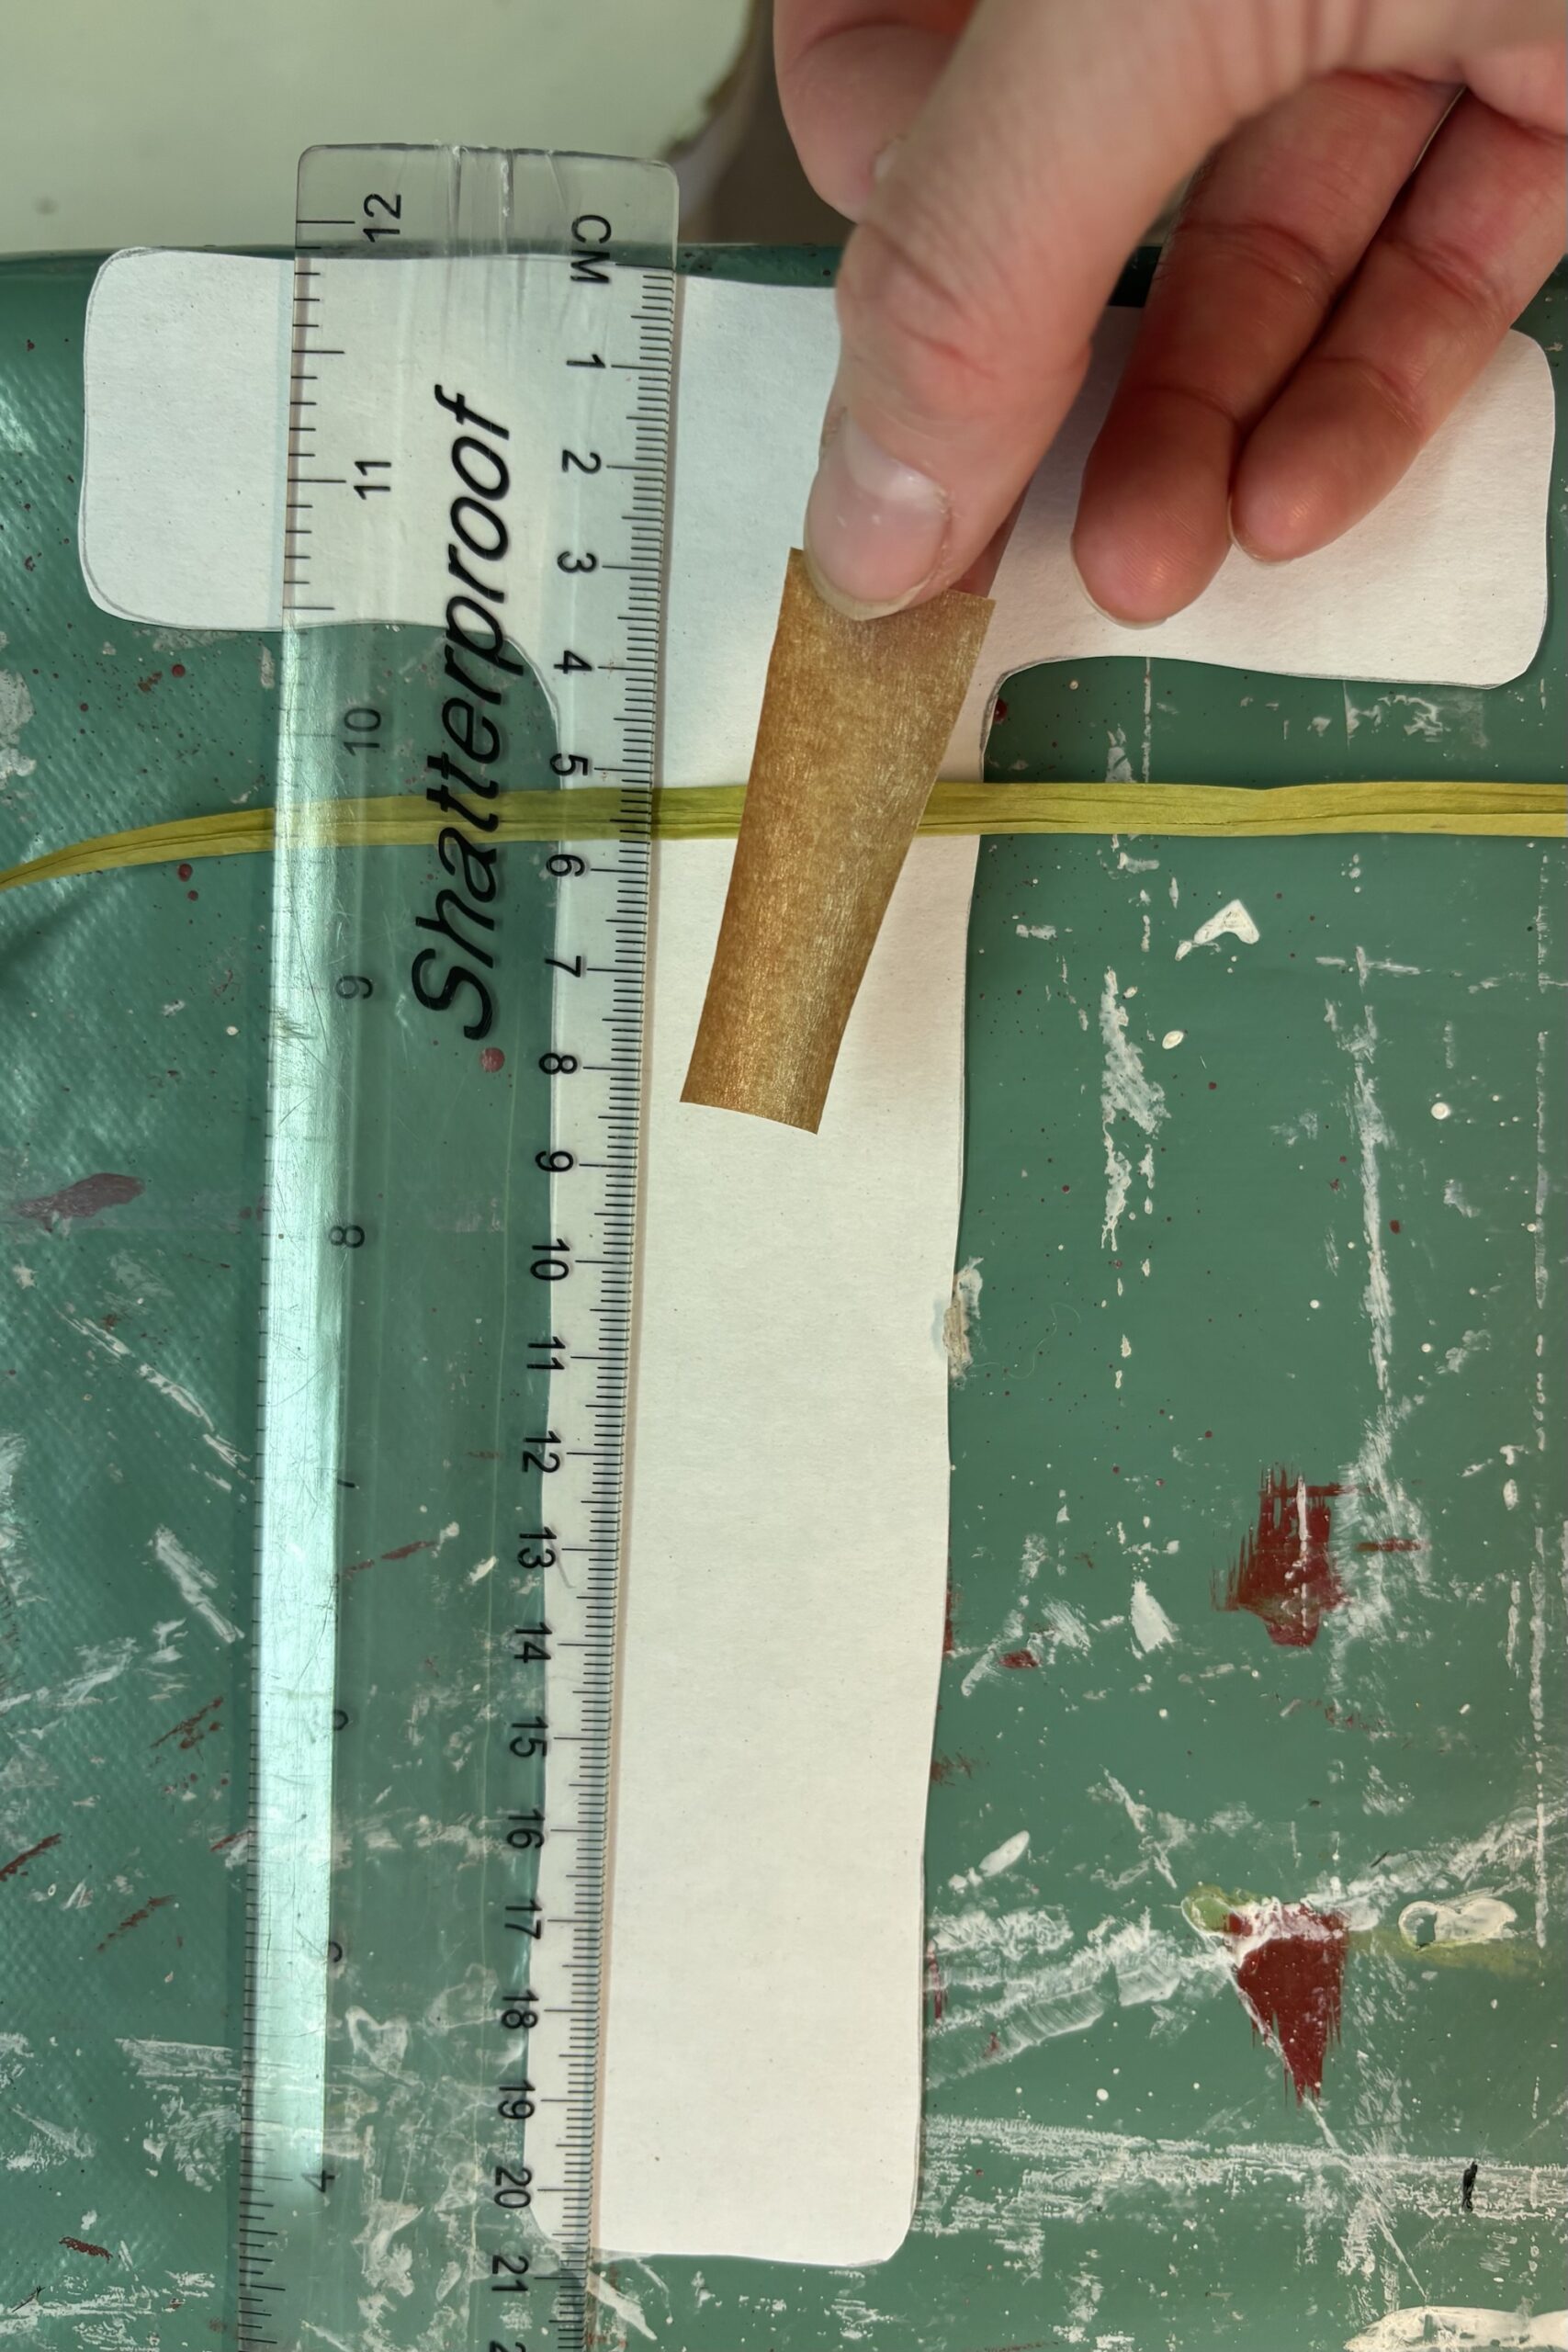
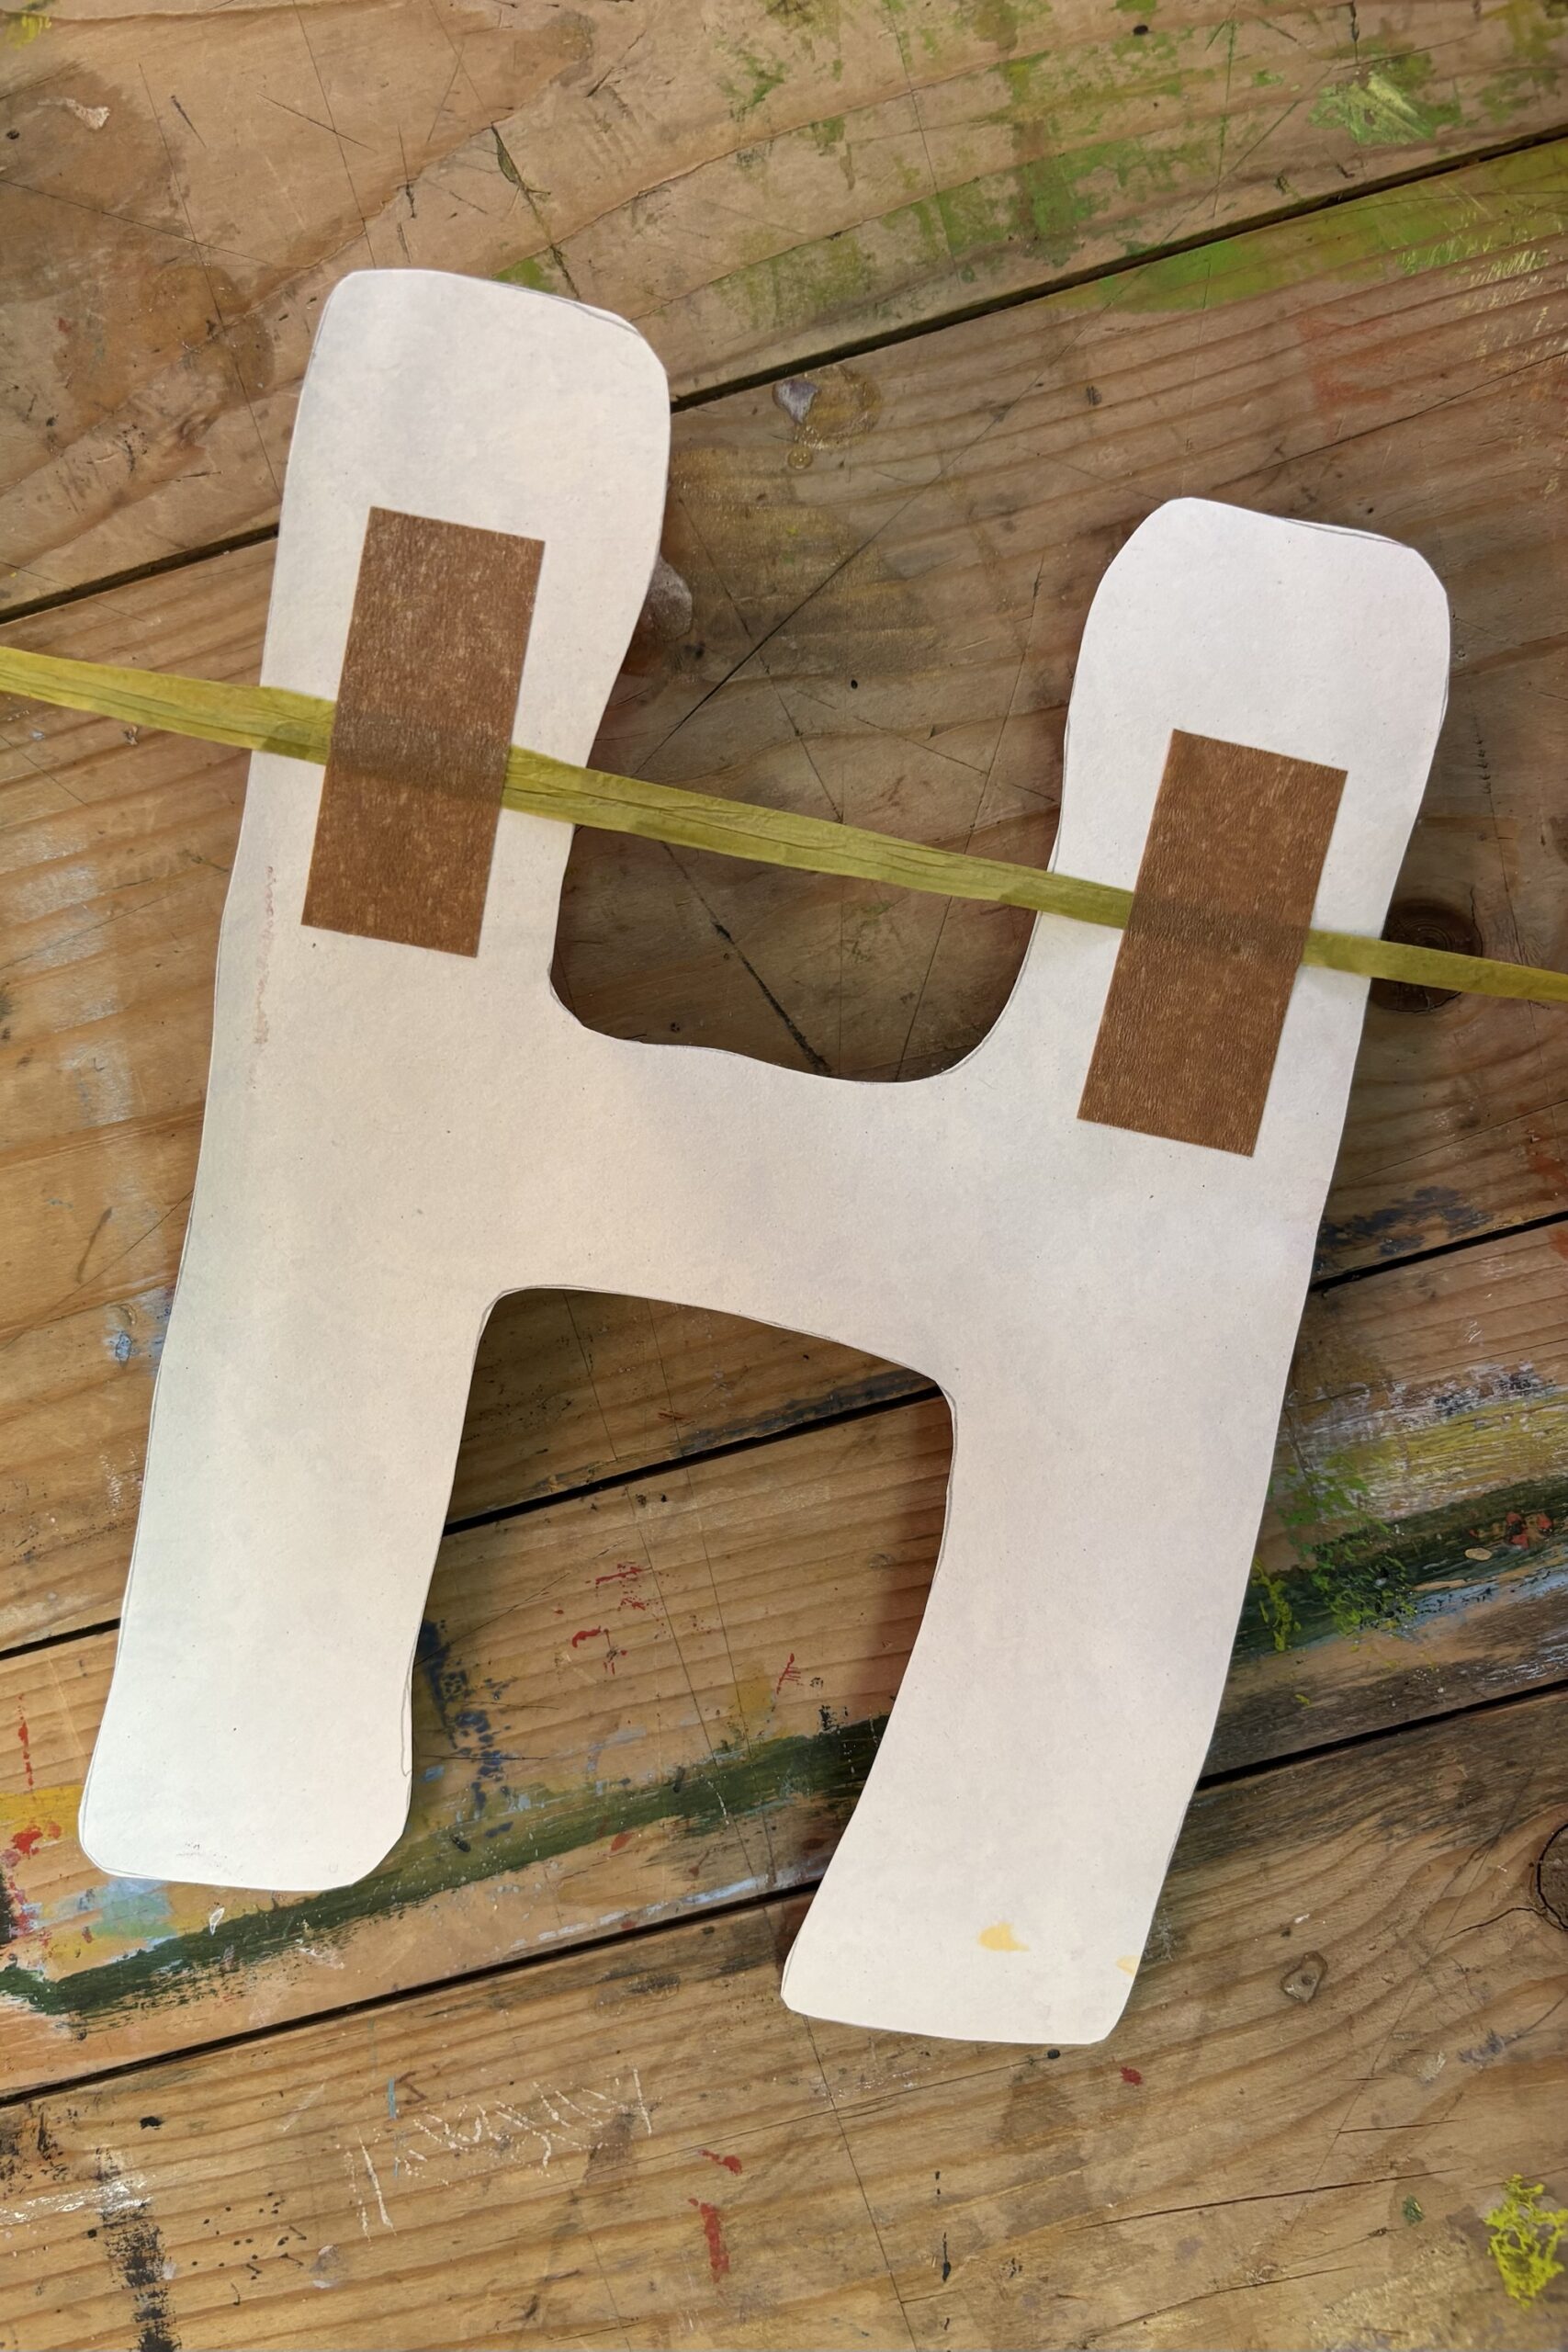
Tape the ribbon 1/3 of the way down the back of each letter. This will ensure they hang in a straight line.
3.
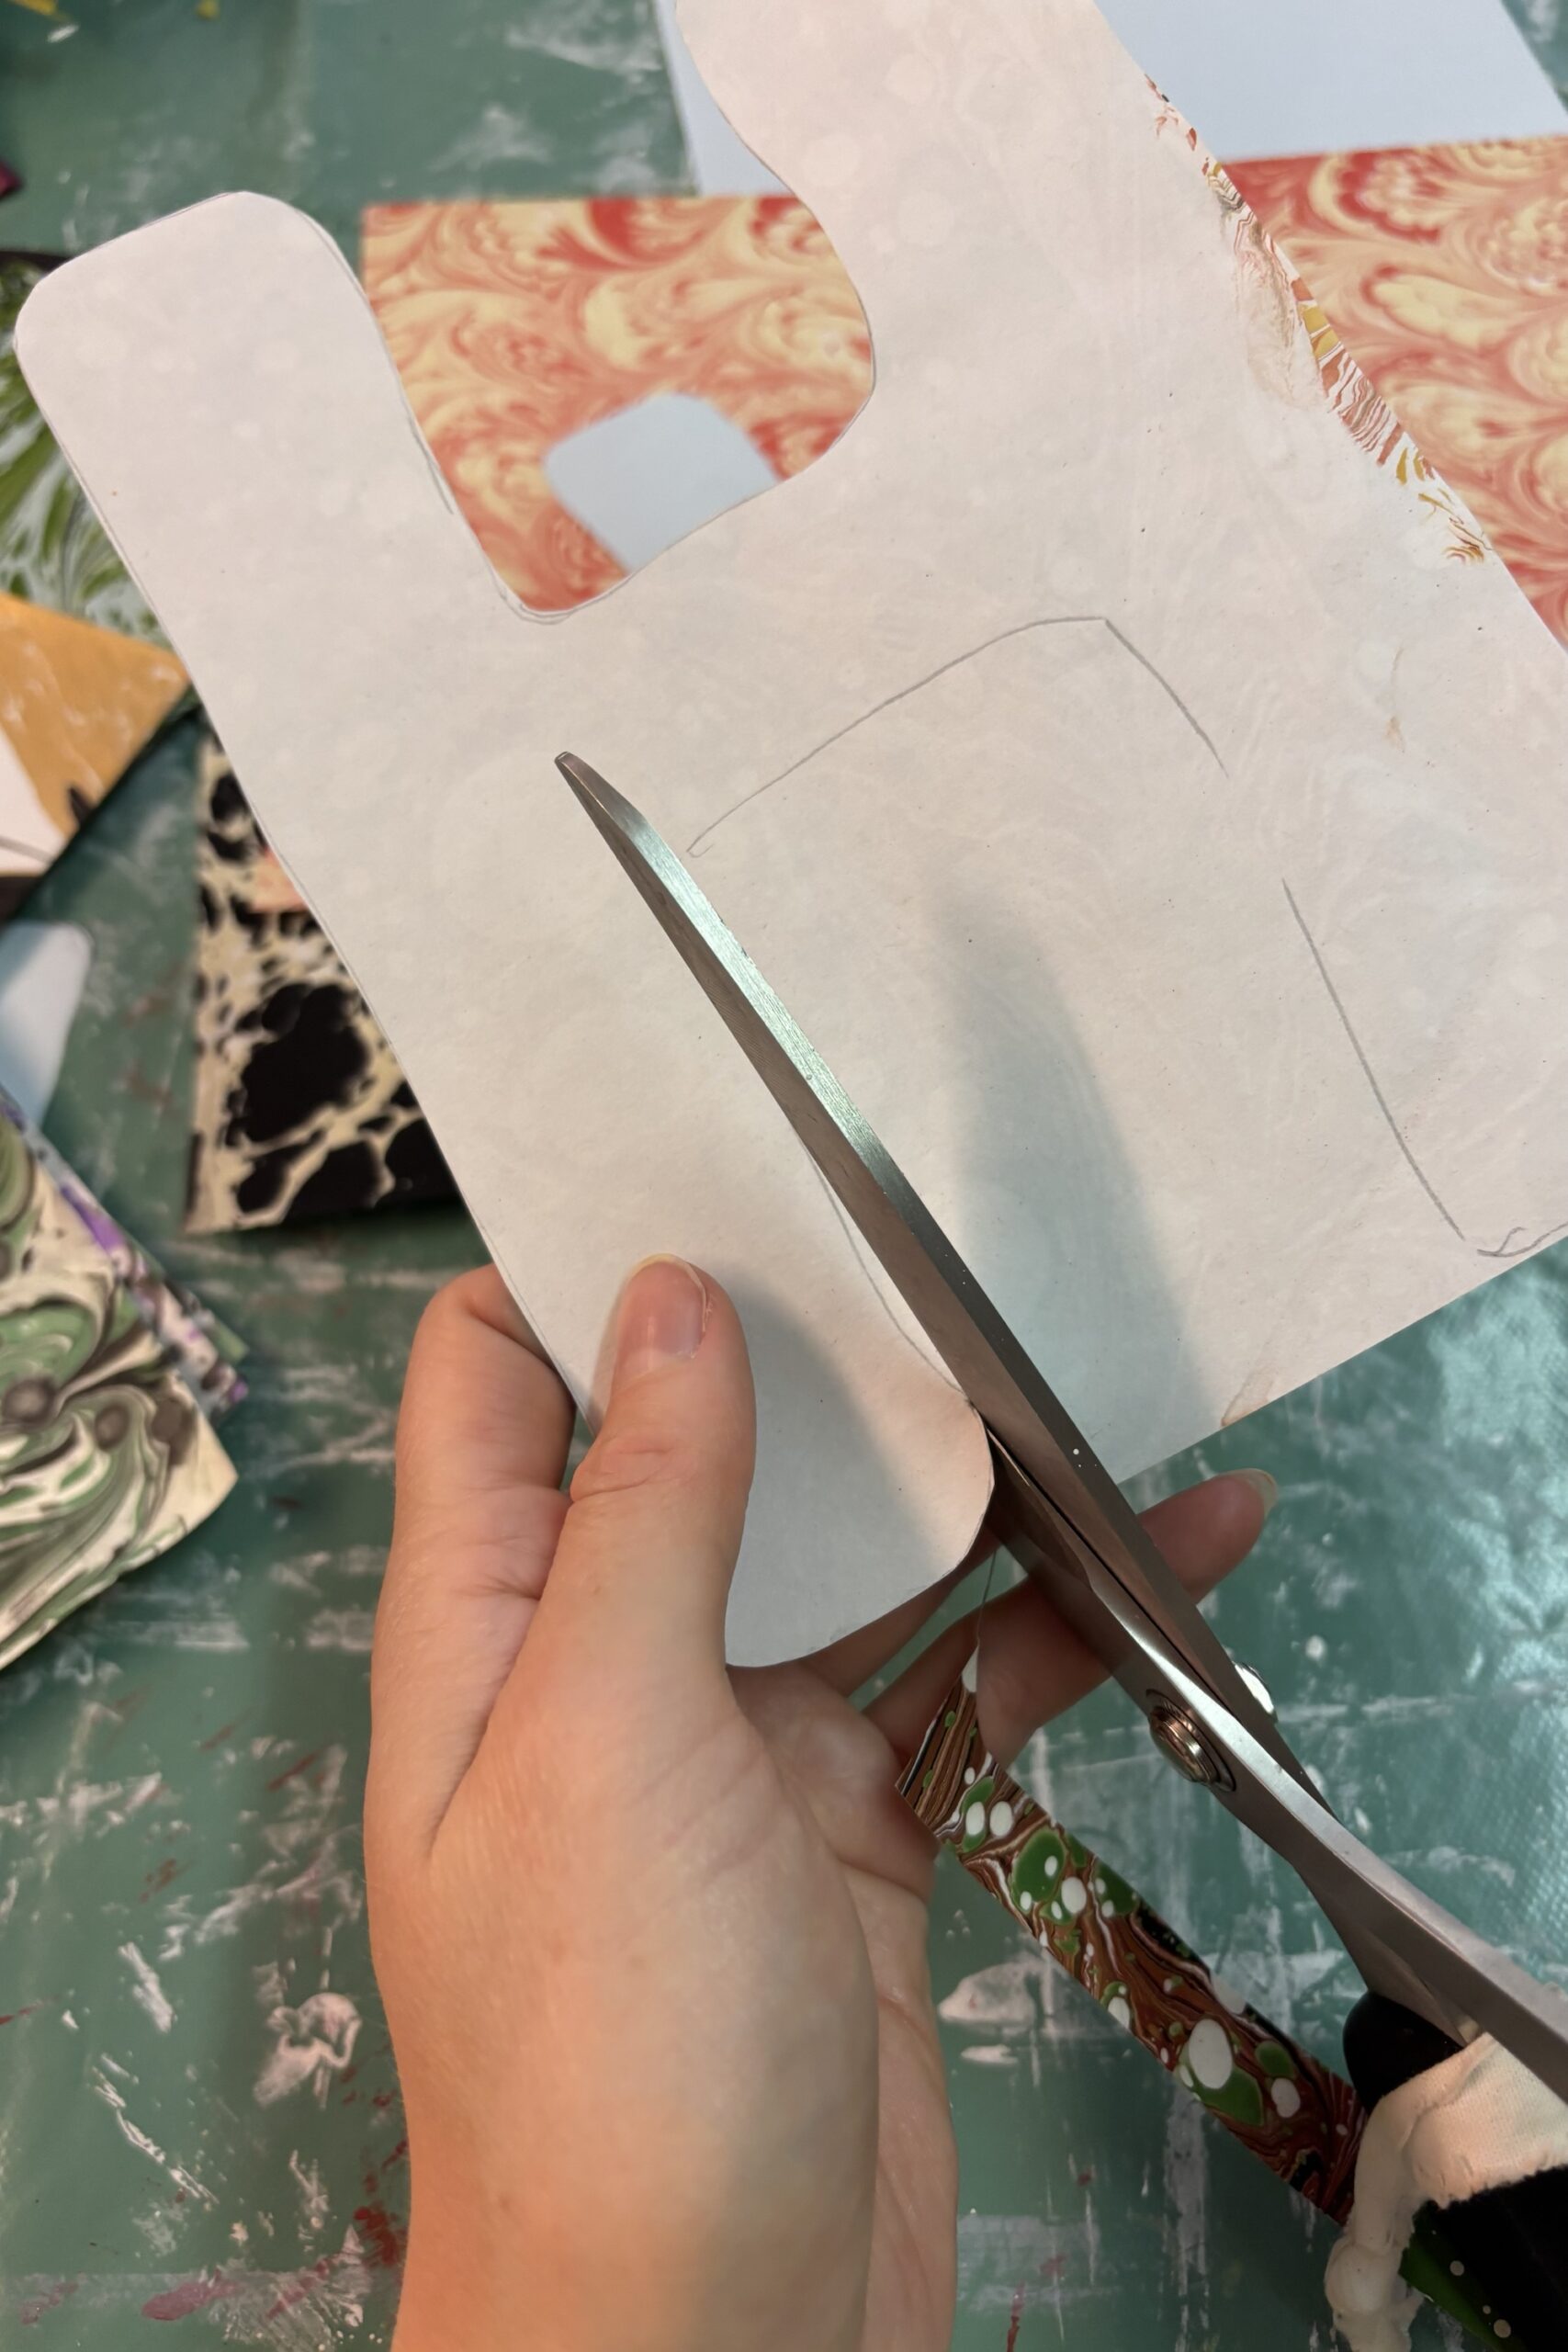
Carefully cut out your shapes. Scrap paper can be used to make tags or use as decoupage.
7.
Some letters may require tape in two places to make them hang straight.
4.
Lay out the ribbon and ensure you leave extra length at the start and end for hanging.
8.
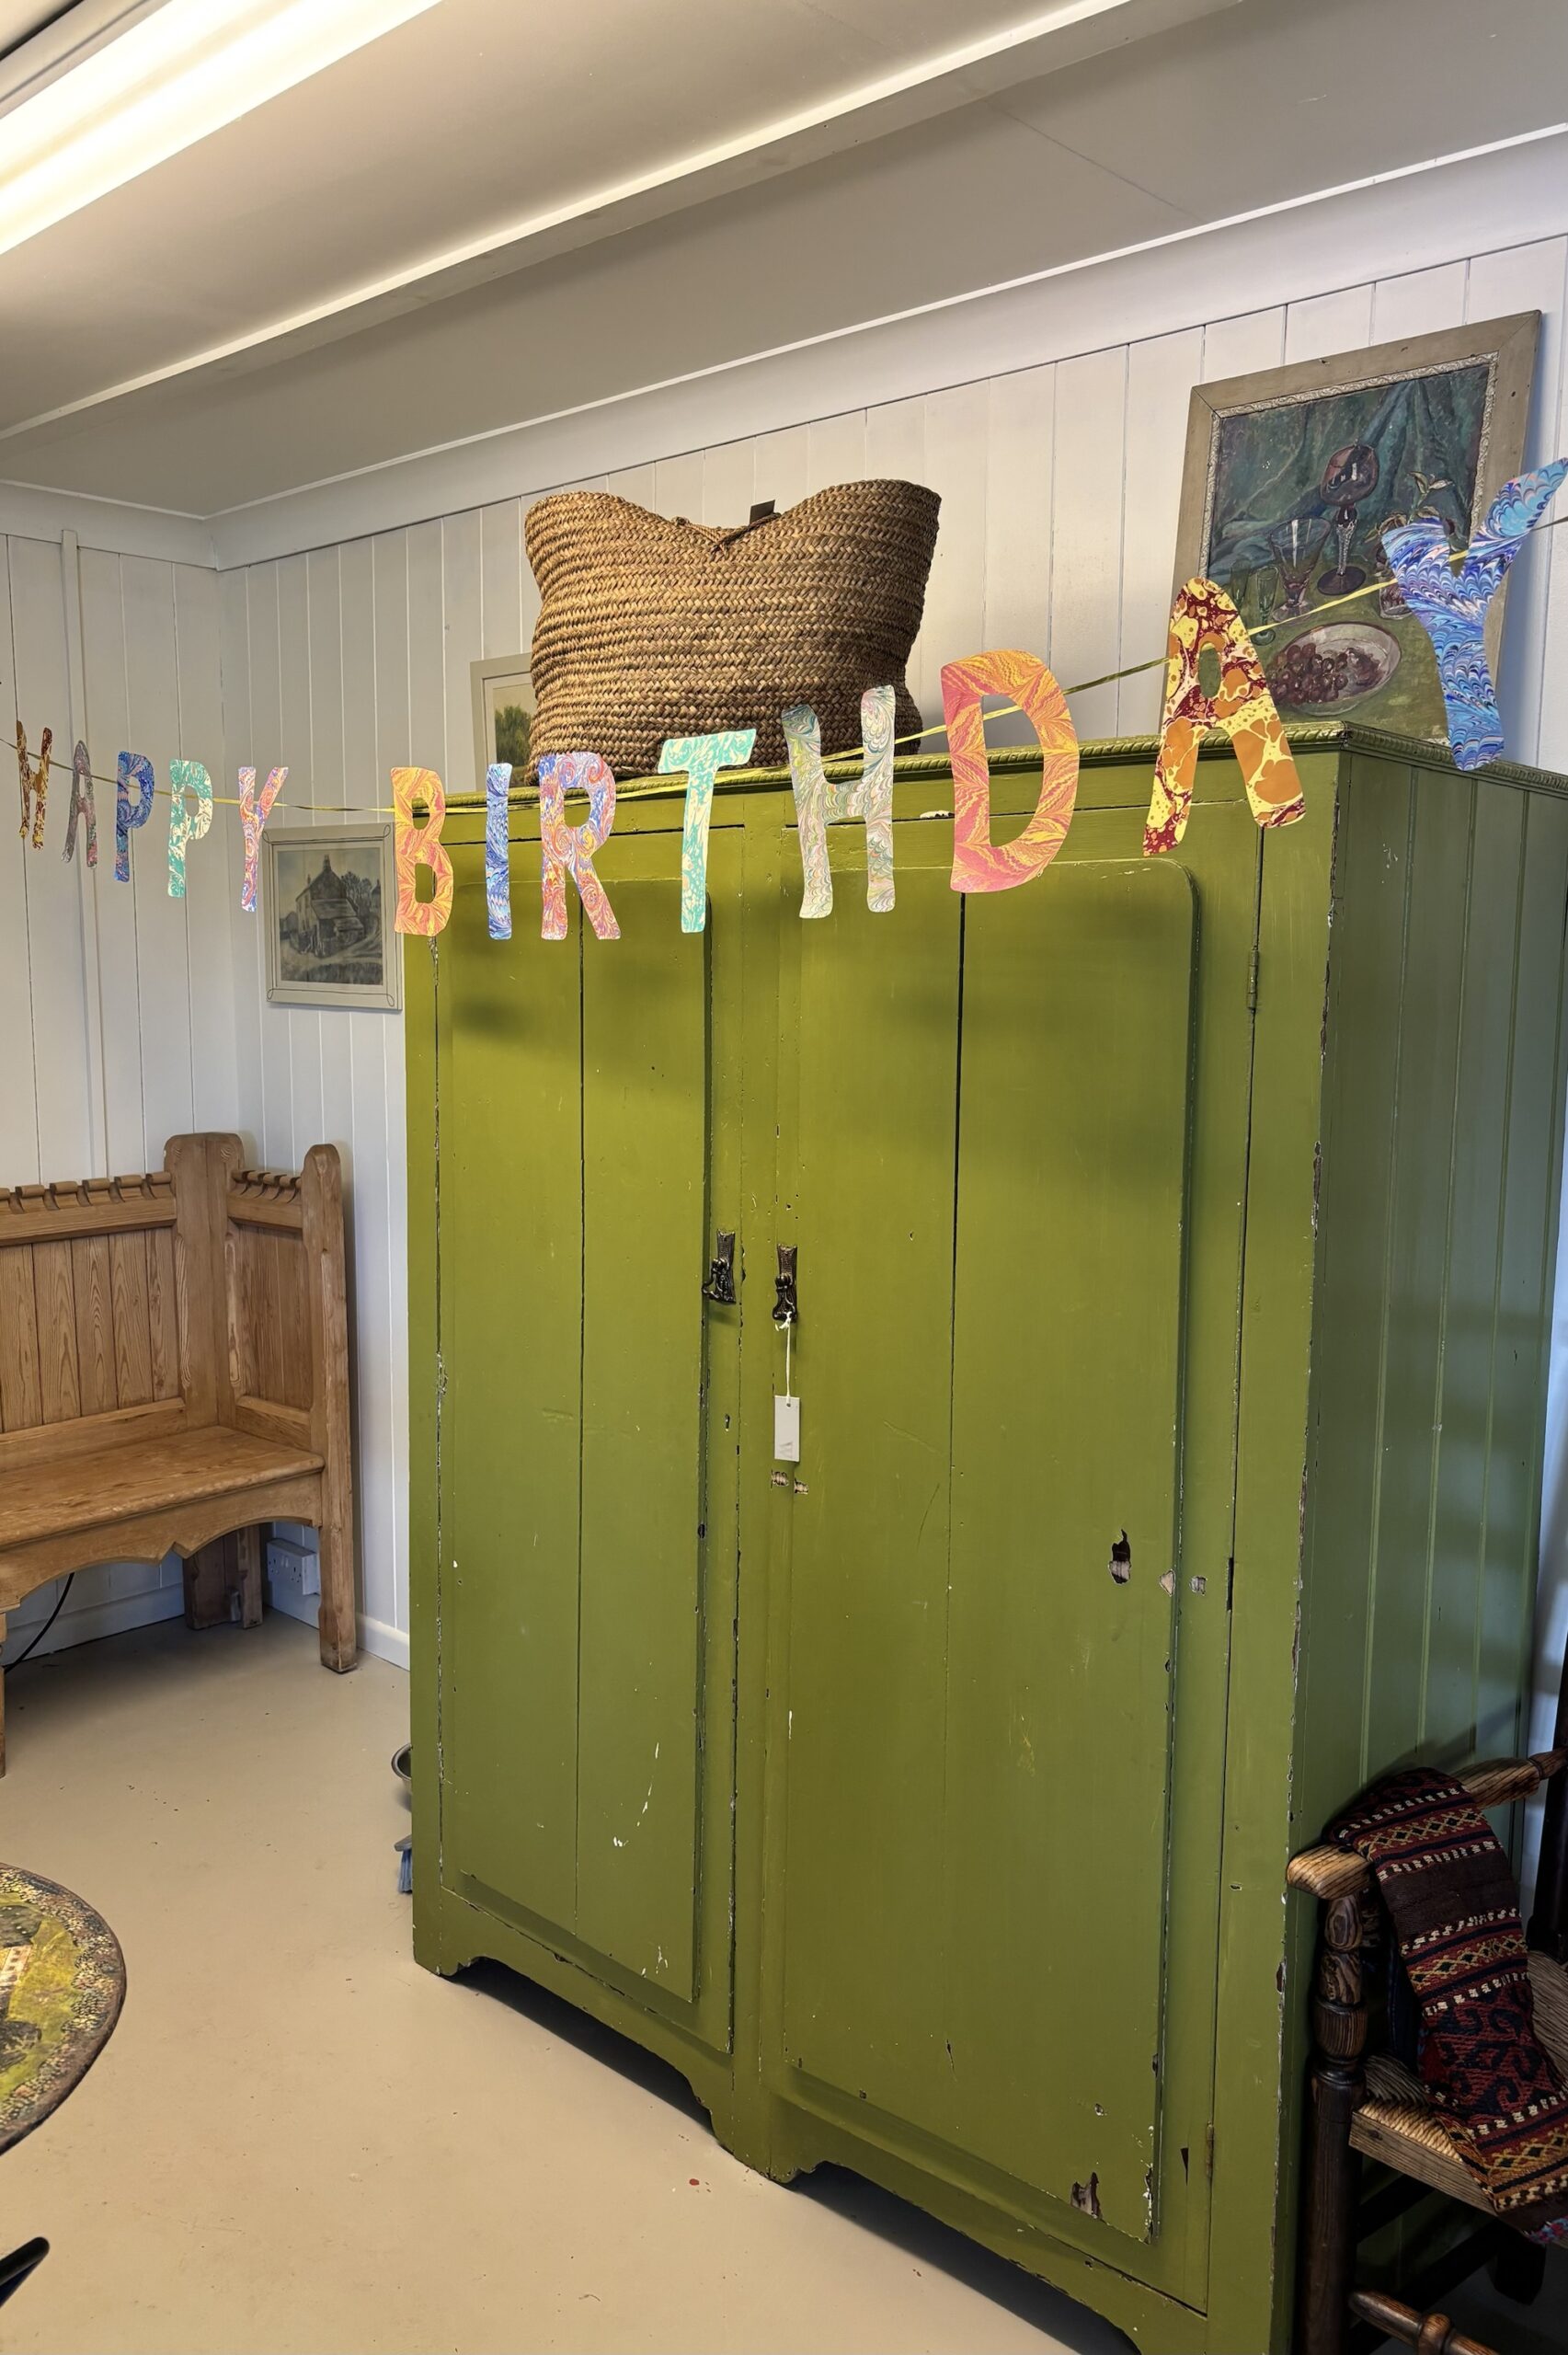
Trim your ribbon to the desired length, hang your garland and enjoy!
*Note- if you are drawing your letters, shapes or numbers on the back of the paper, ensure you draw the mirror image of the letter as it will appear in reverse once you turn it around.
Shop our Make your own Hand Marbled Garland Packs below